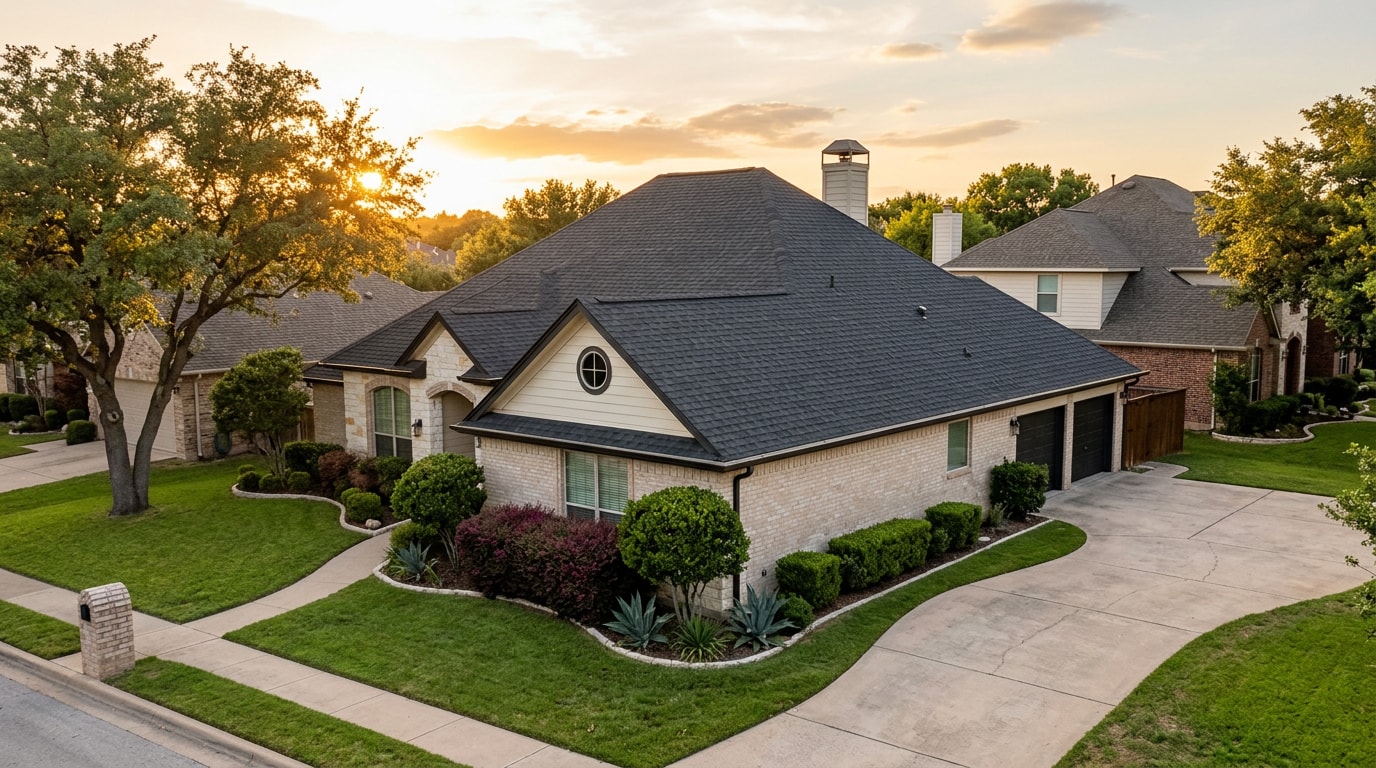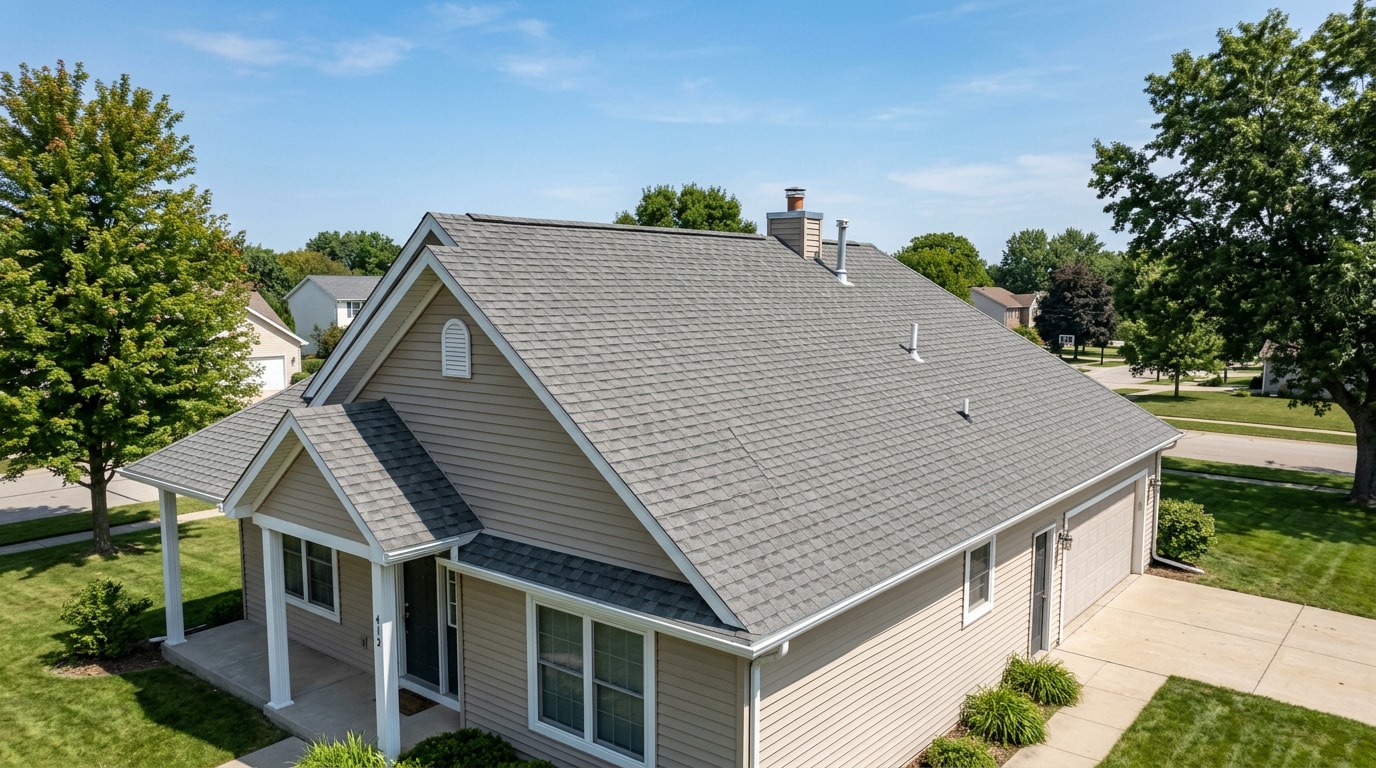
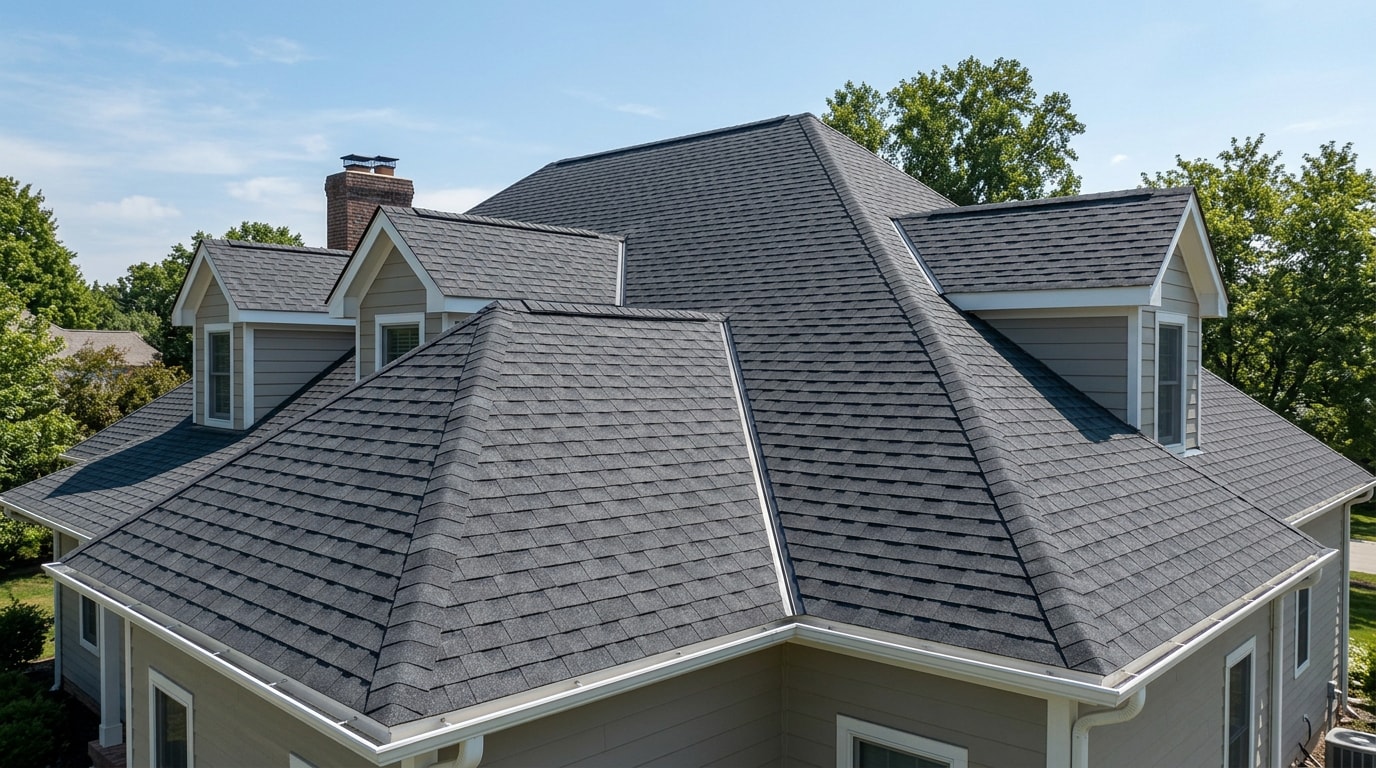
Learning how to lay architectural shingles correctly comes down to five steps done in order: deck prep, underlayment, a proper starter course, the right nailing pattern, and ridge caps. Skip or reorder any one of them and the roof can look fine for a season, then start leaking within a few years. Here's the sequence a professional crew actually follows, step by step.
Our crews at Project Revitalize install and repair shingle roofs across North Texas, and almost every leak call we get traces back to one of these steps getting rushed, not the shingle itself. If you'd rather hand the whole job to a licensed crew, our roofing contractor team can take it from tear-off to final inspection.
Tools, Materials & Safety Preparation
Before anything goes on the roof, stage your tools and materials so you're not making trips up and down the ladder mid-install.
Tools and materials:
- Roofing nails and a roofing nail gun or hammer
- Chalk line
- Synthetic or felt underlayment
- Starter strip shingles
- Metal drip edge
- Roofing adhesive/cement
- Utility knife and tin snips
- Sturdy extension ladder
Safety isn't optional once you're above ground level. Wear a harness anchored to a secure point, check that your ladder is footed properly, and never work a wet or frosted deck.
OSHA requires fall protection for all roofing work above 6 feet, with different allowable systems depending on whether the roof is low-slope (4:12 or less) or steep-slope (greater than 4:12) . That rule applies to employers and crews, and it's worth reviewing even for a weekend DIY job, since the physics of a fall don't care whether you're on payroll. The OSHA fall protection factsheet lays out which systems qualify for which roof pitch.
Step 1: Prepare the Roof Deck
Tear-off means stripping old roofing material down to bare wood with a roofing shovel or pry bar, then hauling debris away as you go.
Once the deck is exposed, do a real inspection. Check for soft spots, delamination, and rotted decking, because a weak deck won't hold shingles properly even if everything installed above it is textbook-perfect.
Replace damaged sections with new plywood matched to the existing sheathing thickness, nailed into the rafters. If you're not confident reading the deck yourself, our roof inspection service can confirm its condition before you spend a dime on shingles.
Step 2: Install the Underlayment & Drip Edge
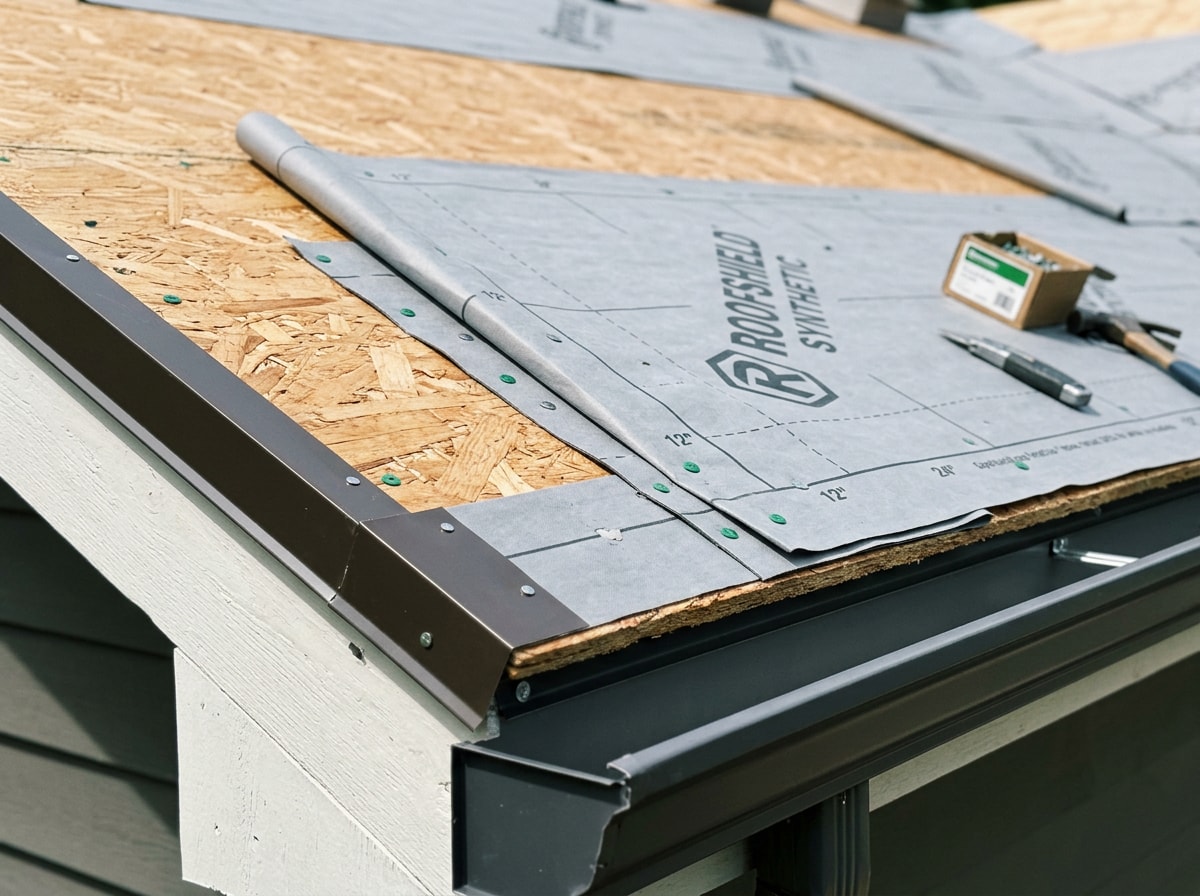
Underlayment is the moisture barrier between deck and shingles. It catches the water that occasionally gets past the surface layer, especially around valleys and penetrations.
Roll it out horizontally starting at the bottom edge, overlapping each row by about 4 inches, and fasten with nails or staples spaced roughly every 12 inches. For a full breakdown of every layer between the deck and the shingle itself, see our guide on what goes under shingles on a roof.
Many roofers now prefer synthetic underlayment over felt because it resists tearing and handles sun exposure better if installation gets delayed by weather. Either works, provided it meets your local code.
Drip edge goes on next, along both eaves and rakes. Measure and cut the metal with tin snips, then nail it flush so water sheds away from the fascia instead of behind it.
Step 3: Install Starter Strip Shingles
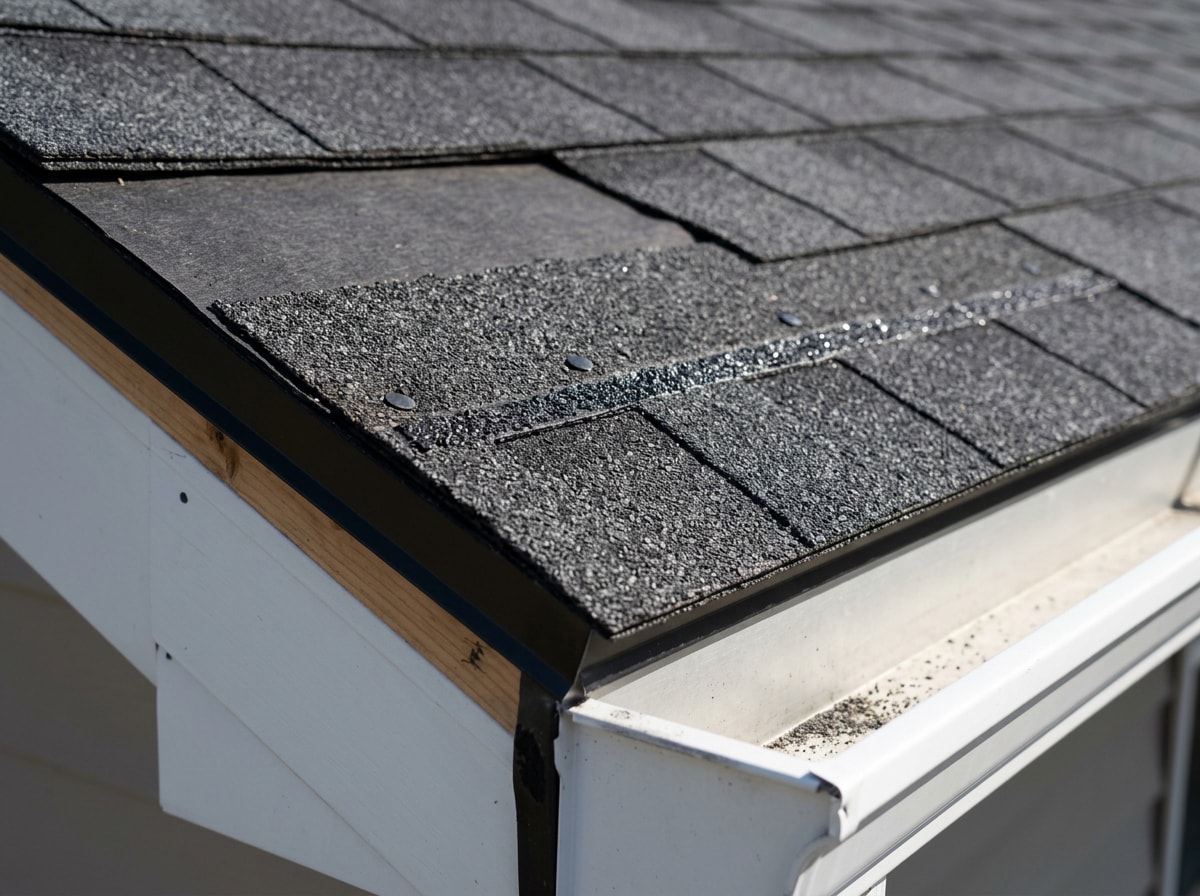
Starter strip shingles run along the bottom edge, giving the first course something to seal against. Let them overhang the drip edge by about half an inch so water drains into the gutters instead of behind them.
Position the starter strip adhesive-side up, nailing it roughly every 6 inches. This starter course provides wind uplift protection at the roof's most vulnerable edge. Without it, the first row of shingles has nothing to bond to and can lift in the first real storm.
No manufactured starter strips on hand? Cut the tabs off regular shingles instead. Either option fills the gaps between tabs on the first row.
Step 4: Lay the First Row & Stagger the Pattern
Snap a chalk line, then set the first full shingle over the starter strip, aligned with the drip edge. Drive four roofing nails per shingle, just below the adhesive strip, and continue across the row.
From here you're laying the field. Mark chalk lines every 5 inches, the typical shingle exposure for architectural products, and offset each new course roughly 6 inches from the one below it.
Two offset approaches show up on real job sites:
- Straight-up staggered method – shifts each course the same fixed amount, building a consistent diagonal.
- Running-bond method – varies the offset slightly row to row for a more randomized look.
In practice, random-pattern laminate shingles forgive small offset mistakes far better than striped three-tab shingles. The varied tab shadows on architectural shingles hide minor misalignment that would stand out immediately on a flatter three-tab roof. This is the single biggest reason architectural shingles have become the default for reroofing jobs over the last decade, not just the thicker profile.
Keep bundles stored out of direct sunlight until you're ready to install them. Heat softens the factory seal strips, making shingles harder to separate and position cleanly.
Nailing Pattern & Wind Ratings: Why 4 vs. 6 Nails Matters
Most architectural shingles call for four nails per shingle placed in the marked nailing zone. In high-wind regions, or where code and manufacturer warranties require it, that pattern increases to six nails per shingle for extra holding power.
This isn't an arbitrary upsell from a contractor. Wind-resistance claims on the shingle wrapper are measured against a recognized ASTM test standard, and the classification tells you what the shingle is actually rated to survive.
| ASTM D3161 Class | Wind Speed Rating | Typical Use |
|---|---|---|
| Class A | 60 mph | Low-wind regions only |
| Class D | 90 mph | Most standard installs |
| Class F | 110 mph | High-wind zones, often requires 6 nails |
ASTM D3161, a fan-induced test method, classifies asphalt shingles as being Class A, Class D or Class F and having resistances to wind speeds of 60 mph, 90 mph or 110 mph, respectively . A separate standard, ASTM D7158, tests the uplift resistance of the factory sealant strip itself rather than the shingle as a whole assembly. Manufacturers often tie their highest wind-rating classes, and the warranty coverage that goes with them, to the six-nail pattern specifically. Installing four nails where six are specified can void coverage on wind-related warranty claims, regardless of how the shingle itself is rated. Check the wrapper and your local building department before you start, since requirements vary by pitch, wind zone, and manufacturer.
Nails should sit flush with the shingle surface, not overdriven, which crushes the mat, and not underdriven, which leaves heads exposed to the weather.
Install Flashing (Valleys, Chimneys & Walls)
Flashing covers the spots a flat shingle field can't seal alone: valleys, chimneys, skylights, and sidewalls. It should extend under the shingle courses above it and lap over the underlayment below, directing water down and out.
Metal valley flashing goes down before shingling the adjacent sections. Cut shingles to fit the valley with at least 3 inches of clearance from the centerline, keeping the metal channel visible rather than fully covered.
Valley linings shall be installed in accordance with the manufacturer's installation instructions before applying shingles , per the International Residential Code's roof assemblies chapter. That's the baseline most local building departments adopt, so it's a useful reference if you're unsure what your jurisdiction requires.
Step flashing against chimneys and sidewalls should interleave with each course, one piece per row. Skipping this step is one of the most common causes of slow, hard-to-trace leaks around roof penetrations.
Install Ridge Cap Shingles
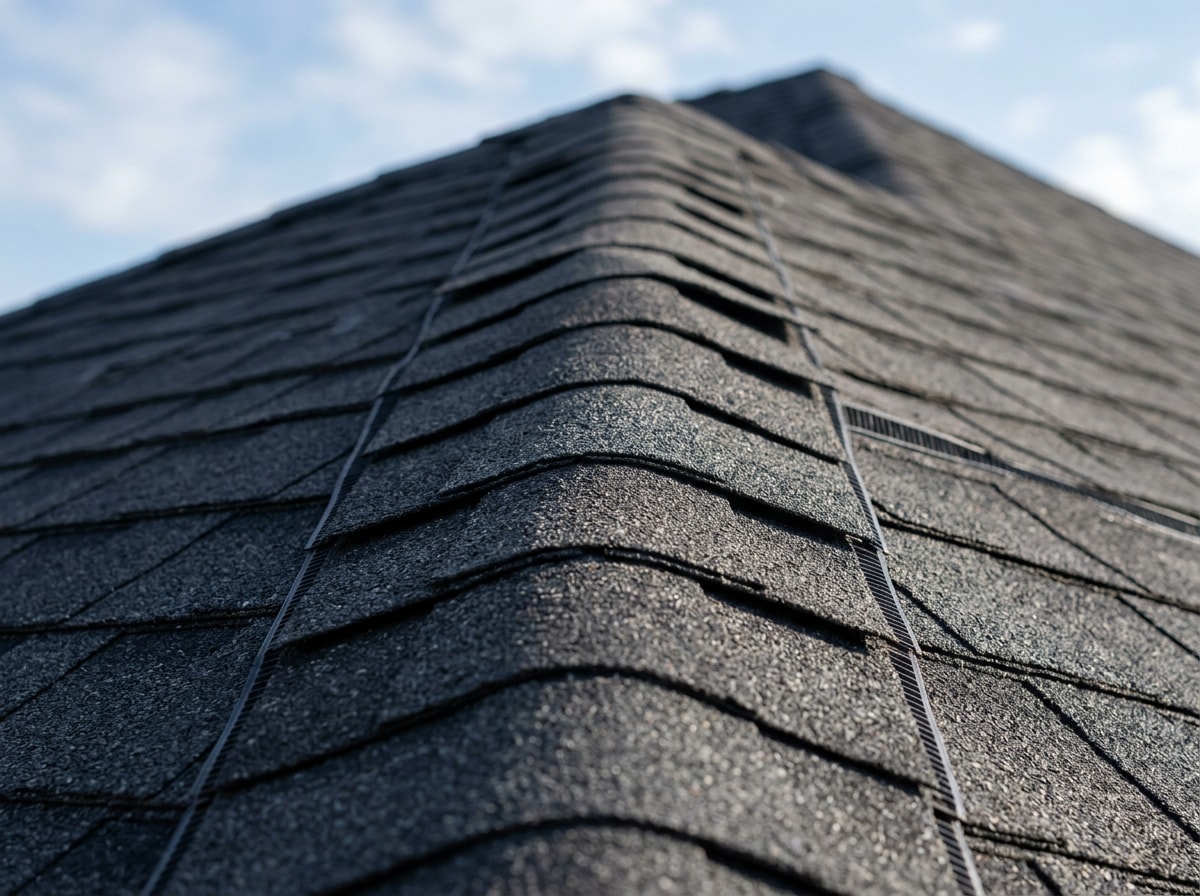
Ridge cap shingles finish the roof at the peak, covering the gap where two slopes meet. Beyond the clean look, they add wind resistance and keep moisture from working under the top course.
Use purpose-made ridge caps, or cut standard shingles into roughly 12-inch sections if caps aren't available. Install them perpendicular to the ridge, overlapping each piece by about 5 inches, working in the direction of prevailing wind.
Nail each ridge cap with two nails, one per side, positioned so the next cap covers the nail heads. A crooked or under-nailed ridge line is one of the most common issues we find on an otherwise solid DIY install during inspections.
When to Call a Professional Instead
A weekend DIYer can manage a small, low-slope section with patience and the steps above. A full tear-off and reroof is a different project, especially on steep pitches, multi-plane roofs, or anything above a single story.
Call a licensed roofer if you run into any of these:
- Widespread deck rot discovered after tear-off
- A roof pitch steeper than 6:12
- Multiple valleys, dormers, or chimney penetrations
- Storm damage that may involve an insurance claim
If a section just needs patching rather than a full relay, our roof repair team can handle it faster and cheaper than a full reroof. If the deck or the shingles are past saving, our roof replacement service covers the whole job, tear-off through final cleanup.
We serve homeowners throughout Frisco, TX, Plano, TX, McKinney, TX, and the greater Dallas–Fort Worth area. Get a free estimate before you commit to a DIY weekend you can't walk back from.
FAQ
How many nails does an architectural shingle need?
Four nails per shingle is standard for most installs. High-wind zones or specific manufacturer wind-rating classes often require six nails per shingle, placed in the marked nailing zone, to maintain full warranty coverage.
How does installation differ for architectural vs. 3-tab shingles?
Architectural shingles are heavier and built from laminated layers, creating a varied, dimensional look once installed, while three-tab shingles are flat and lighter and need precise alignment to look uniform. The difference shows up most during installation: small offset errors are far more forgiving on dimensional shingles, since the randomized pattern hides inconsistencies that would stand out on a flat three-tab roof.
How long does it take to install architectural shingles on an average roof?
A professional crew can usually tear off and install an average-sized roof in a single day, sometimes two on larger or steeper homes. DIYers should expect a longer timeline, often several weekends, once deck repairs, weather delays, and the learning curve of a first install are factored in.
What temperature is best for installing architectural shingles?
Most manufacturers recommend installing between roughly 45°F and 85°F. Cold weather below 45°F makes shingles brittle and prone to cracking , and it also stops the adhesive seal strip from bonding properly until a warmer day activates it. Extreme heat carries the opposite risk, softening shingles enough that they scuff or tear underfoot.
Can you install architectural shingles over an existing layer?
Sometimes, depending on local code and how many layers are already on the roof. Most jurisdictions cap roofs at two layers of shingles total, and tear-off is always the better long-term choice since it lets you inspect and fix the deck underneath.
If you're weighing that decision for your own roof, our team can walk through the trade-offs during a free estimate, and our guide on shingles vs. metal roofing covers how material choice affects that math too.