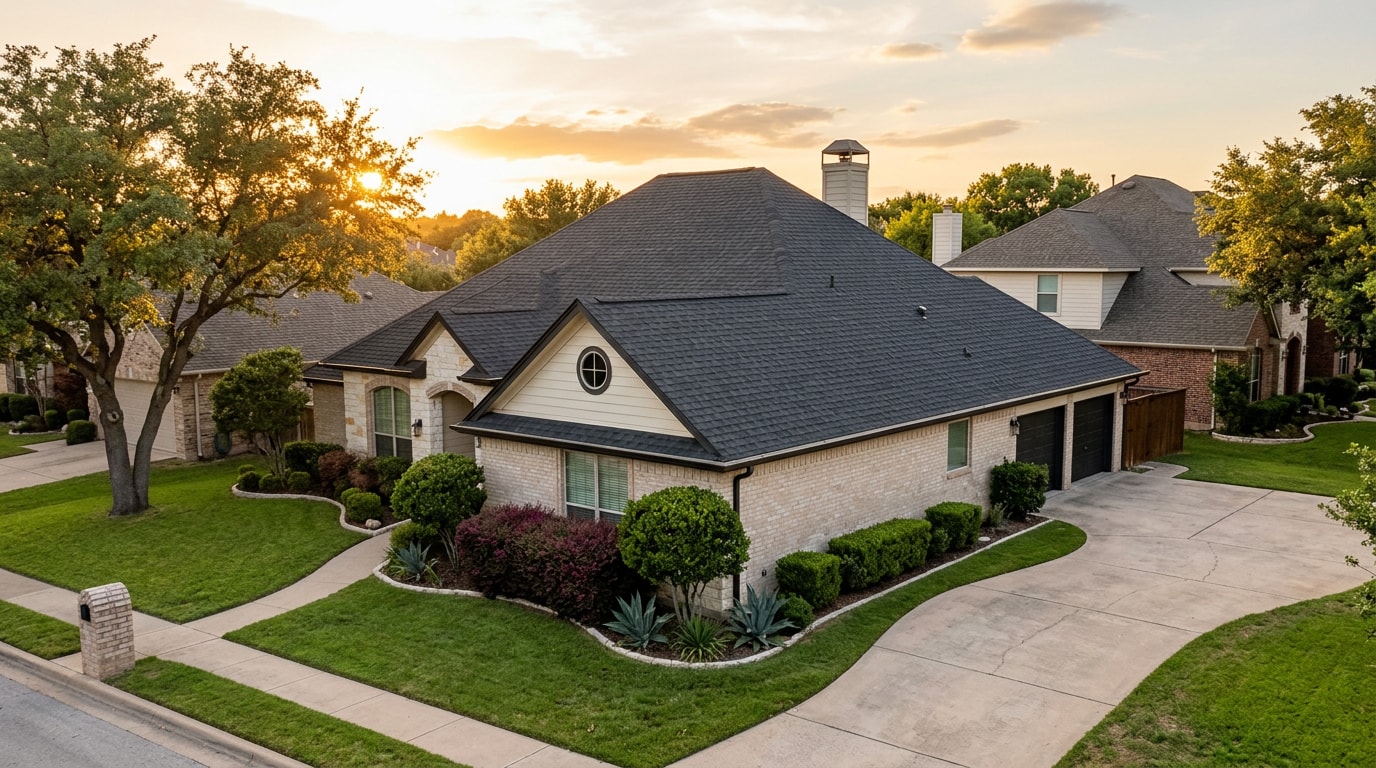
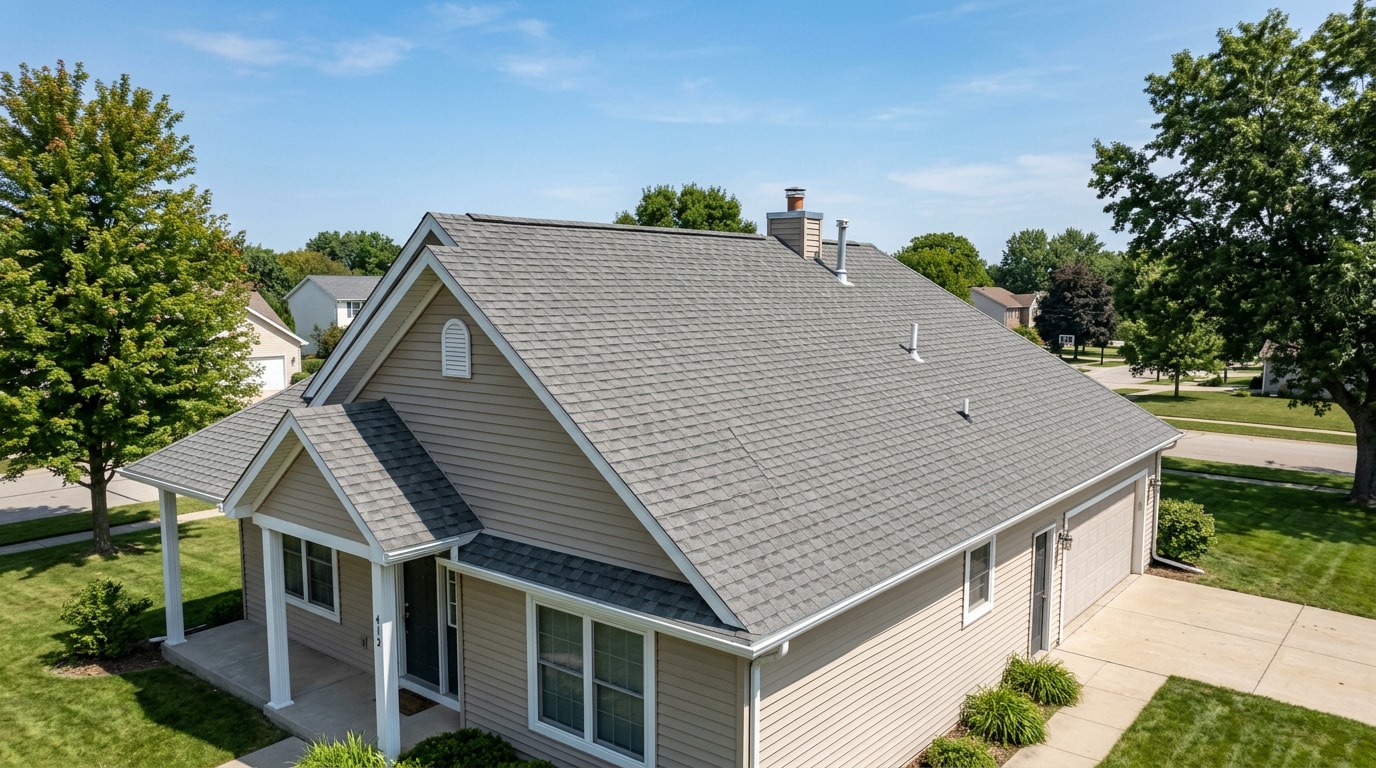
A roofing installation involves far more than nailing down shingles, it's a sequence of tear-off, deck repair, and layered waterproofing that decides whether your roof lasts 15 years or 30. Understanding each stage helps you budget accurately, plan around weather, and spot a crew that's cutting corners before it costs you. Here's exactly what happens at every step, in order.
Roofing Installation Process: Step-by-Step Breakdown
Most residential roofing installation projects move through nine distinct stages, from the first walkthrough to the final cleanup sweep. A straightforward asphalt shingle job on an average single-story home typically wraps up in one to three days, while steeper, larger, or multi-material roofs take longer. In the roofs we install across the Dallas-Fort Worth metro, deck damage shows up most often around chimneys, bath vents, and skylights, not out in the open field of the roof, which is exactly why the inspection step below matters more than homeowners expect.
| Step | What Happens | Typical Time |
|---|---|---|
| 1. Inspection & Planning | Deck, attic, and pitch checked; estimate and permits arranged | 1-2 hours on-site |
| 2. Tear-Off | Old shingles, underlayment, and flashing stripped to bare decking | Half a day |
| 3. Deck Inspection & Repair | Rot, soft spots, and loose sheathing fixed before anything new goes down | Varies by damage found |
| 4. Drip Edge | Metal edging set at eaves and rakes | 1-2 hours |
| 5. Underlayment | Waterproof layer rolled across the deck | 2-3 hours |
| 6. Flashing | Chimneys, valleys, vents, and skylights sealed | 2-4 hours |
| 7. Roofing Material | Shingles, metal, or tile installed bottom-up | Bulk of the job |
| 8. Ridge Caps & Ventilation | Peak sealed, exhaust vents finished | 1-2 hours |
| 9. Cleanup & Final Inspection | Debris hauled, magnetic sweep, quality walkthrough | 1 hour |
Step 1: Inspection, Measurement & Planning
Every legitimate roofing installation starts with a roof inspection and precise measurement, not a shingle delivery. A contractor walks the roof and attic to check deck condition, ventilation, moisture, and pitch, then uses those measurements to build an accurate estimate before any work begins.
This planning phase also covers pulling building permits, scheduling around weather windows, and prepping the site: protecting landscaping, staging material pallets, and positioning the debris dumpster. Skipping this stage is one of the fastest ways a project goes over budget or gets delayed mid-job.
Ready to find out what your roof actually needs? Schedule a free roof inspection and estimate before committing to any installation timeline.
Step 2: Removing the Old Roofing Materials
This is the loudest, messiest phase of the job: a full roof tear-off down to bare decking. Crews strip off shingles, old underlayment, and flashing, then manage debris removal with tarps and a dedicated dumpster so the job site stays safe.
Tear-off often reveals problems invisible from the ground, hidden rot around a chimney, soft decking from a slow leak, or nailing patterns that never met code to begin with. That's exactly why installing new shingles directly over old ones is a quality tradeoff rather than a shortcut: it hides those issues instead of fixing them, and most manufacturers won't honor a full warranty over a double layer. If your roof is closer to the end of its life than a simple patch can fix, a full roof replacement is usually the better long-term call.
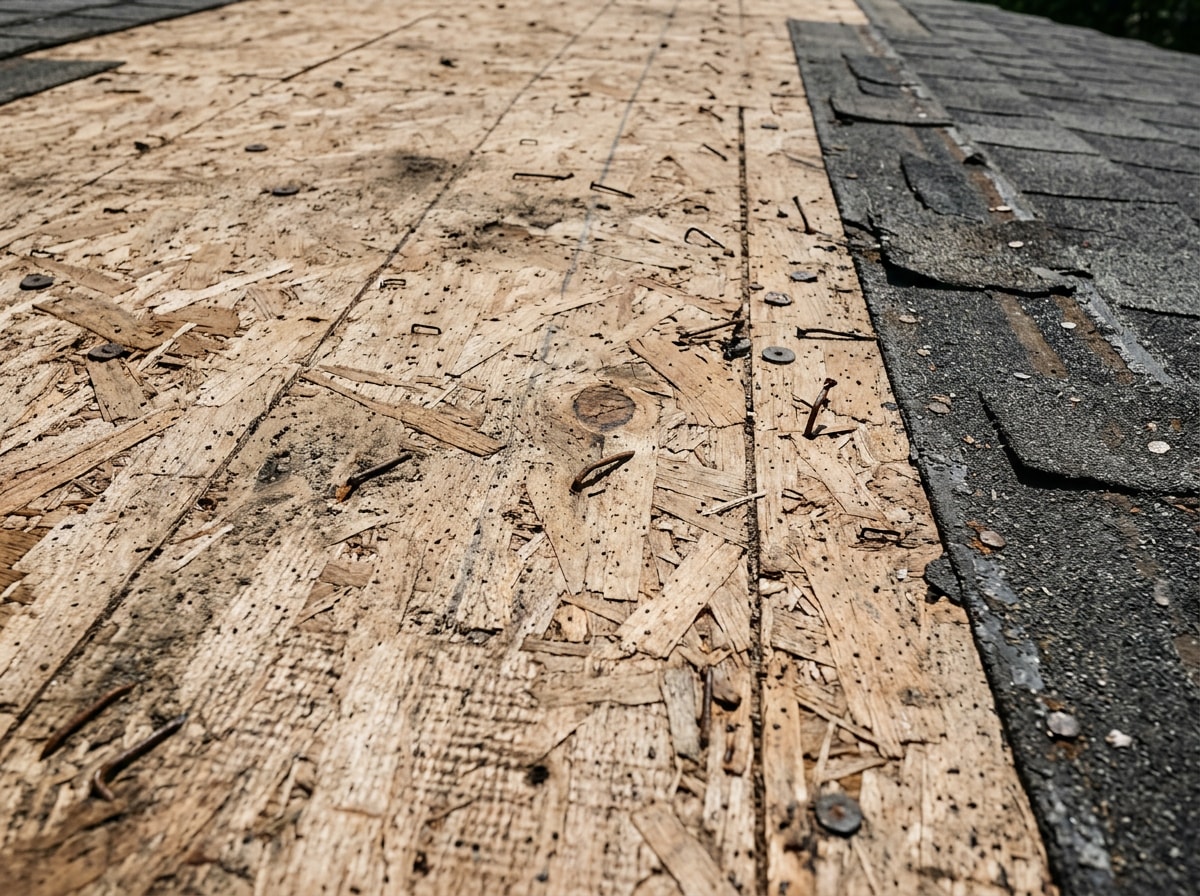
Step 3: Inspecting & Repairing the Roof Deck
A thorough deck inspection checks for rot, mildew, soft spots, and loose sheathing now that the deck is fully exposed. Any compromised OSB or plywood decking gets replaced before a single layer of new material goes down.
Sheathing repair isn't optional cosmetic work, it's structural. Fastener spacing and panel attachment on a roof deck follow the building code and industry fastening standards that trade groups like the National Roofing Contractors Association track through technical guidance on building codes and correct roof system installation , and installing over a weak deck undermines everything layered on top of it later.
Step 4: Installing the Drip Edge
Drip edge is a metal strip set along the roof's perimeter to direct water away from the fascia and into the gutters, preventing rot at the edges. It's installed differently at eaves versus rakes: eaves typically get the drip edge first with the waterproof underlayment layered over it, while rakes get the underlayment first and the drip edge layered on top.
This small detail protects the fascia and is one of the clearest signs a crew understands proper edge-flashing sequencing rather than rushing the job. A well-set drip edge also sets up clean water flow into your gutters; if yours need replacing too, our gutter installation team handles that alongside a roofing project.
Step 5: Laying Down the Underlayment
Underlayment is the waterproof layer between the decking and the finished roofing material, and it's arguably the single most common point of failure when installed incorrectly. Both synthetic underlayment and traditional felt paper work, but they need the overlap and fastening spacing the manufacturer specifies to function as a real waterproof barrier.
Ice and water shield is required in the most vulnerable spots in many jurisdictions, and where local code mandates it, that barrier must extend from the lowest edges of all roof surfaces to a point at least 24 inches inside the exterior wall line . These placement rules exist because eaves, valleys, and penetrations are where ice damming and pooling water cause the most leaks, and shortcuts here rarely show up until the first hard storm.
Step 6: Installing or Replacing Flashing
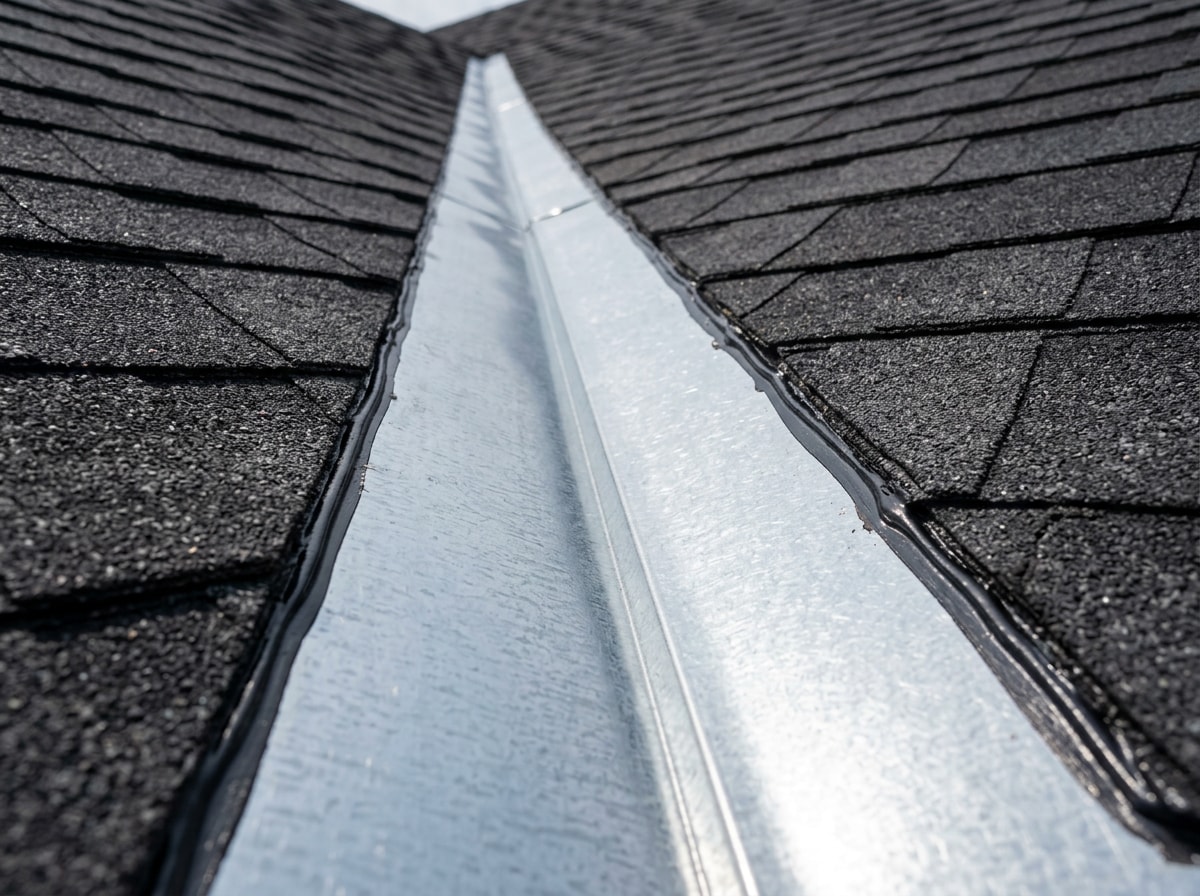
Flashing seals the transitions where the roof meets chimneys, vents, skylights, and valleys, the exact spots where flat shingles alone can't keep water out. Valley flashing and chimney flashing are especially leak-prone when bent, undersized, or reused from the old roof instead of replaced.
Flashing failures are one of the most common causes of roof leaks, even on roofs with otherwise good shingles. Getting this one detail right at every penetration matters more for long-term leak prevention than the shingle brand you choose.
Step 7: Installing the New Roofing Material
Installation starts at the bottom edge with starter shingles, then works upward in overlapping courses so each row sheds water onto the one below it. Crews follow the manufacturer's fastening pattern for nail placement and count, since under- or over-nailing voids most warranties.
The process for asphalt shingle installation differs slightly from metal roofing installation or tile, but the core logic, bottom-up, overlapping, weather-tight layers, stays the same across materials.
Step 8: Installing Ridge Caps & Ventilation
Ridge cap installation seals the peak of the roof where both sides meet, using specially shaped shingles designed to shed water at that angle. At the same time, crews finish ridge vents and other exhaust vents that allow attic airflow in and out of the roof system.
Proper ventilation isn't cosmetic. Allowing a natural flow of outdoor air to ventilate the attic helps keep it cold in winter, which reduces the potential for ice damming, and this balance of insulation and airflow is key to a durable, energy-efficient home. Skipping it can shorten shingle lifespan and push cooling costs higher in summer.
Step 9: Final Cleanup & Inspection
Before the crew leaves, a final inspection checks for exposed nails, consistent overlap, and straight alignment across every course. This quality walkthrough is where small mistakes get caught before they become leaks.
Cleanup includes hauling away debris and running a magnetic sweep across the yard and driveway to catch stray nails. A clean, fully inspected job site is a fair signal that the crew took the whole process seriously. Explore our full roof installation service details, or contact us to schedule your project.
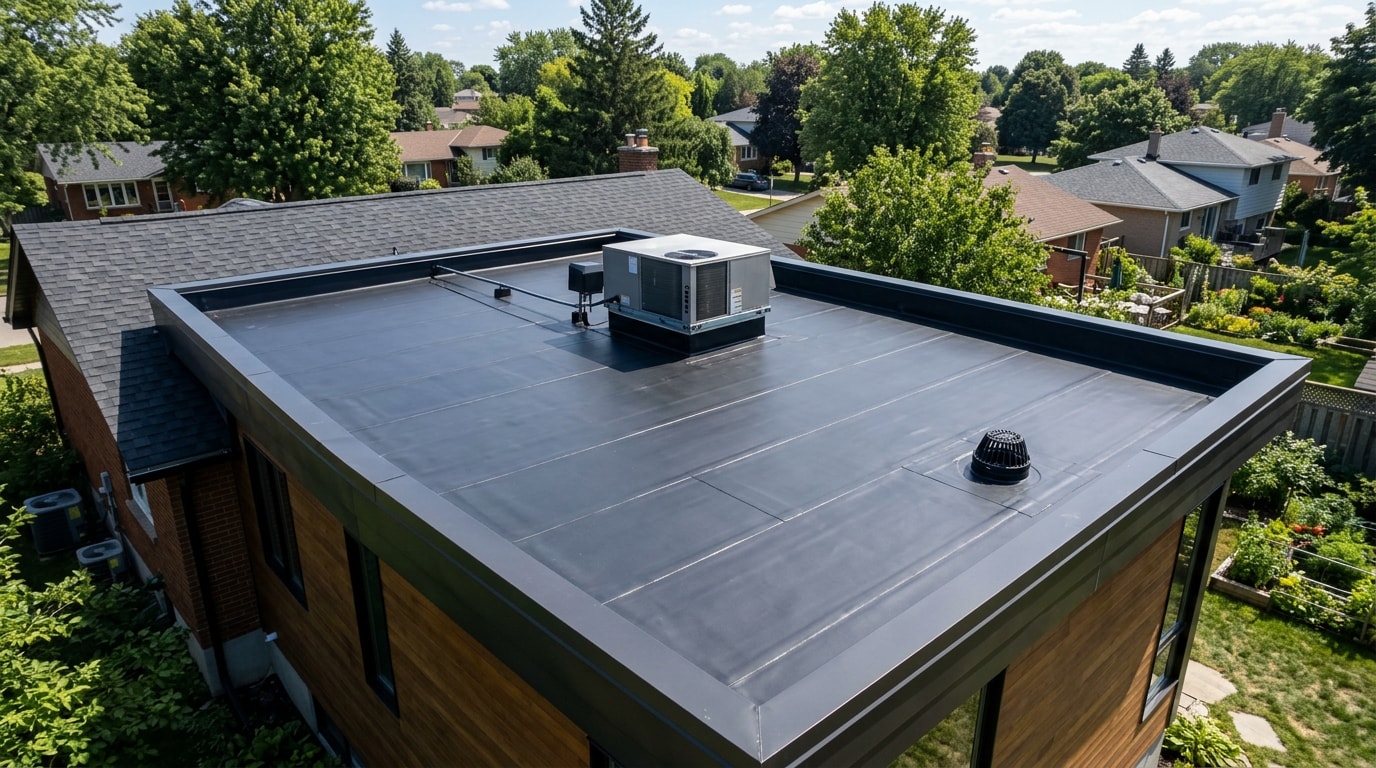
If your roof is a flatter, low-slope system, the sequence changes enough that it's worth reading our rubber roofing guide before you compare quotes, since membrane roofs skip shingle courses entirely in favor of a single sealed layer. For a broader look at how we approach projects across Project Revitalize, our full range of services covers roofing, windows, concrete, and remodeling from a single contractor.
FAQ
How Long Does a Roof Installation Take?
A typical roof installation runs one to three days for an average asphalt shingle roof, though size, material, roof complexity, and weather can extend that. Metal or tile roofs, and steep or multi-layer tear-offs, generally take longer.
What Is the Best Time of Year To Install a New Roof?
Mild, dry conditions, generally spring or fall in most regions, are considered the best time to install a roof because shingles seal properly without extreme heat or cold. Roofing can still happen year-round in milder climates, with adjustments for weather.
Can You Install a Roof In the Rain?
Light, brief rain can sometimes pause work safely mid-project, but a crew won't lay shingles, underlayment, or flashing during active rainfall because it compromises the seal. See our full breakdown of what happens if it rains during a roof installation for how contractors handle weather delays.
Do I Need a Permit for a Roof Installation?
Most jurisdictions require a building permit for a full roof replacement, though requirements vary by city and sometimes by material. A reputable contractor pulls the permit as part of the job and won't ask you to handle it yourself.
What Should I Do to Prepare for a Roof Installation?
Preparing for a roof installation mainly means clearing driveway and garage access for crews and dumpsters, moving vehicles, and covering valuables in the attic against dust and vibration. Securing pets away from the work area is also part of a basic prep checklist.
Do I Need to Be Home During the Roof Installation?
You don't need to be home for the entire job, but it helps to be reachable by phone in case the crew finds an issue, like deck damage, that needs a quick decision. Many homeowners schedule installation during a workday without being present on-site.
How Do I Maintain My New Roof?
New roof maintenance is mostly routine: keep gutters clear, trim overhanging branches, and schedule a periodic inspection every year or two. Basic care after installation goes a long way toward protecting your warranty and catching small issues early.