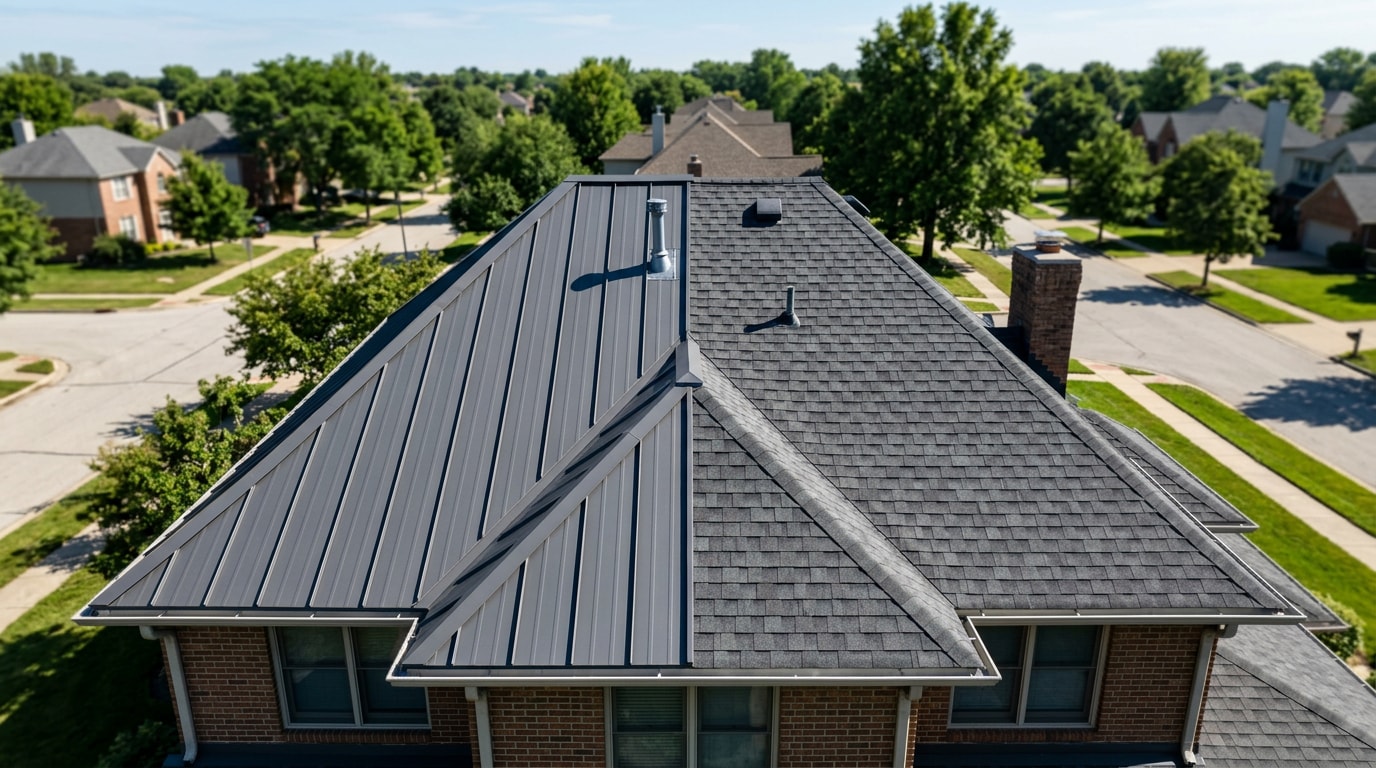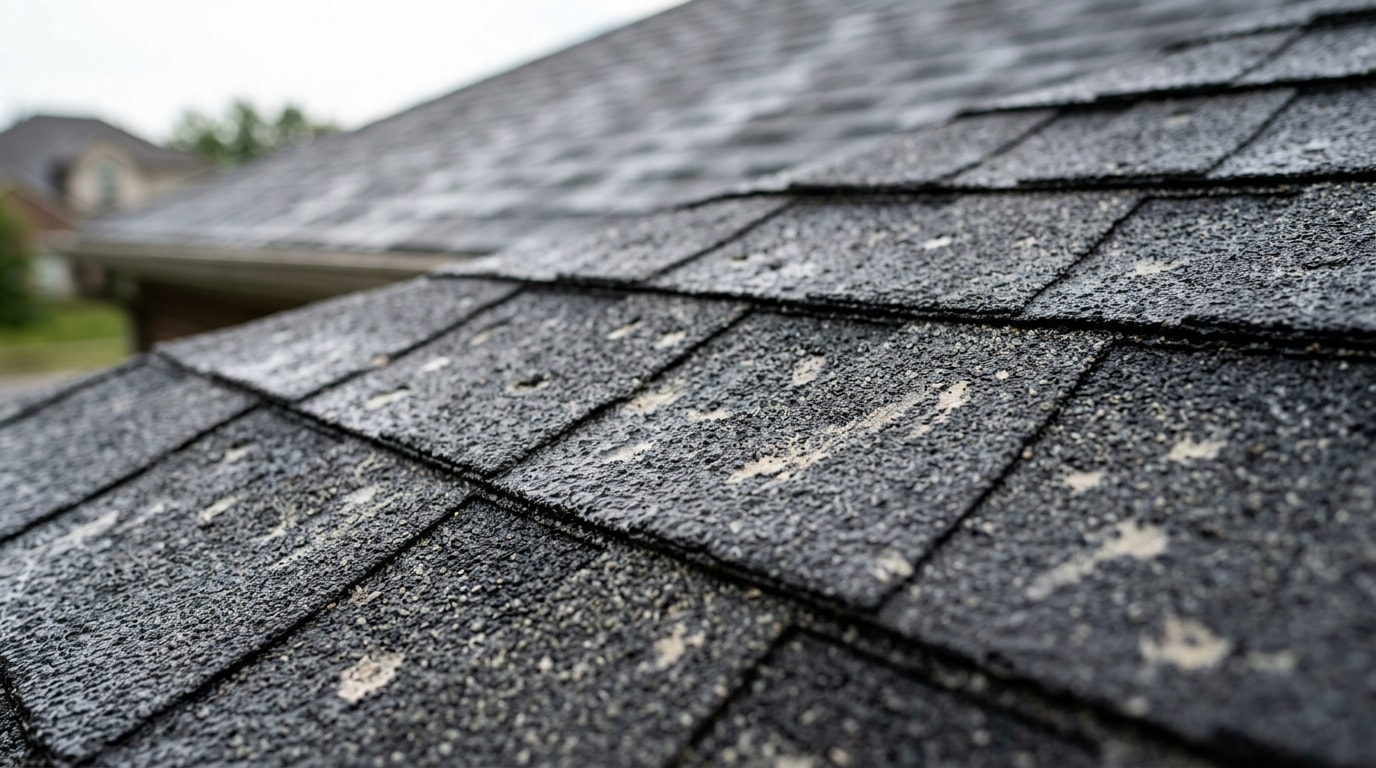
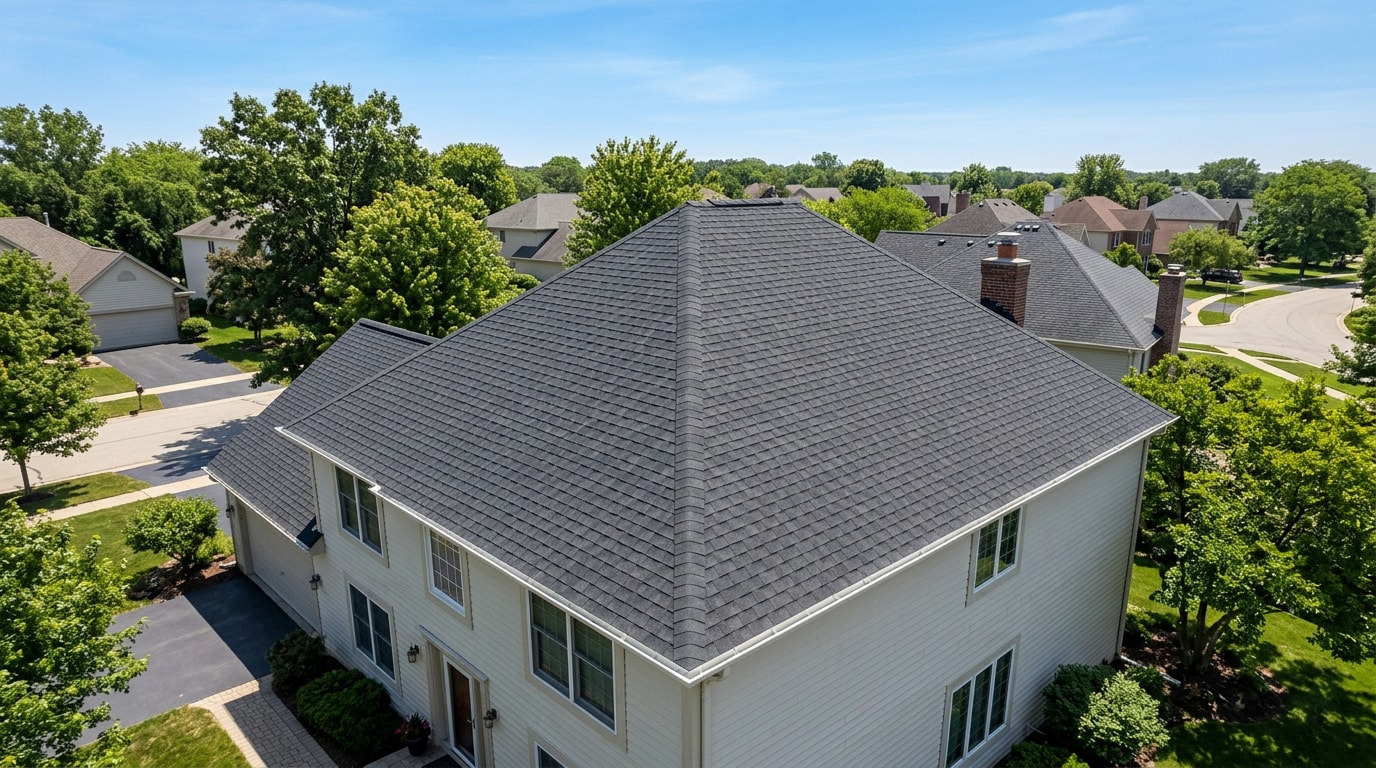
Learning how to shingle a hip roof means handling four sloped faces instead of two, plus hip lines that all meet at a single ridge with no flat gable ends. Get the hip cuts or nailing pattern wrong and you're looking at leaks within a few seasons, not a roof that lasts decades. This guide walks through the full sequence, from tear-off to the final ridge cap, in the order licensed crews actually work a job.
What Is a Hip Roof?
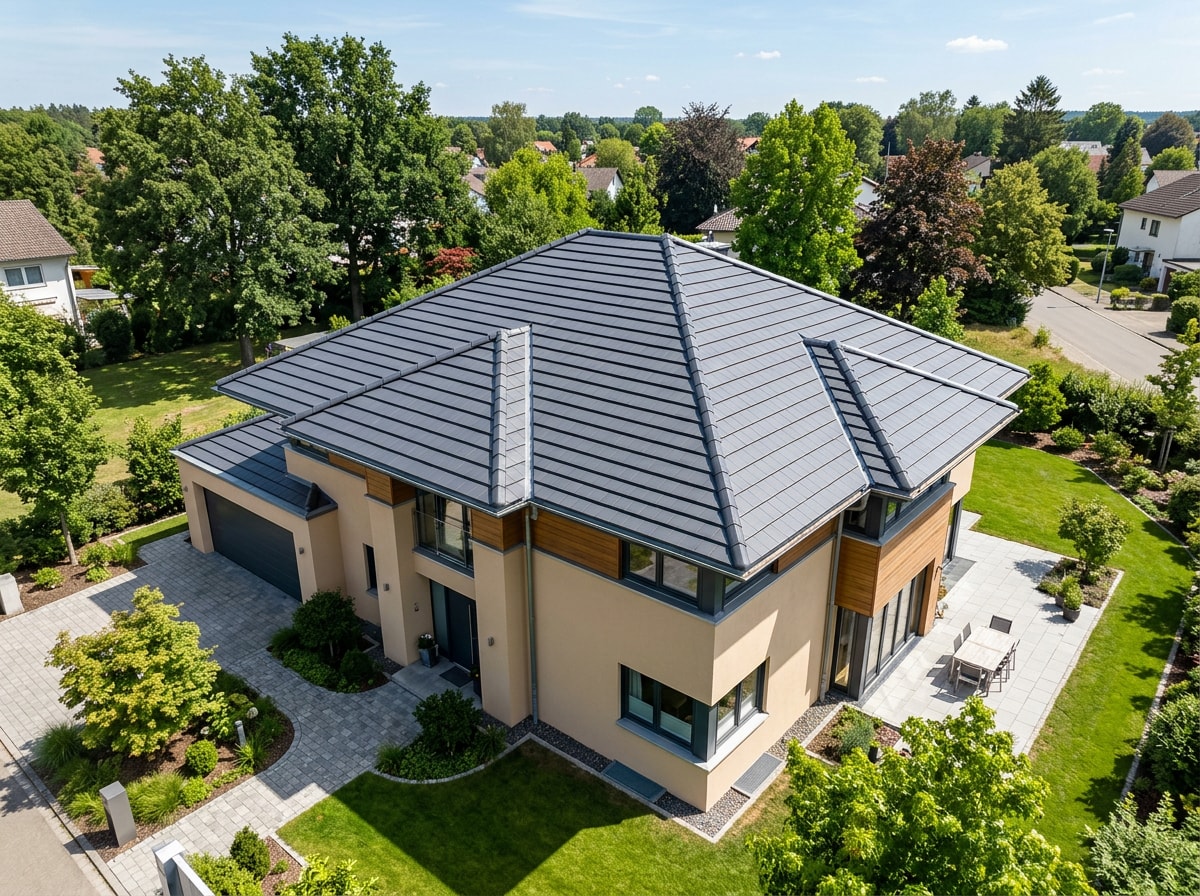
A hip roof is a roof design where all four sides slope downward to the walls, meeting at a ridge with no flat gable ends. Unlike a gable roof, which has two sloped sides and two vertical ends, a hip roof creates diagonal hip lines running from each corner up to the ridge.
Those extra hip lines are exactly why shingling a hip roof takes more planning than shingling a simple gable. Every angled seam needs a clean cut, and the cap shingles running along the hips and ridge have to tie everything together without leaving gaps.
Tools and Materials You'll Need
Tools:
- Hammer or pneumatic nail gun
- Chalk line
- Tape measure
- Pry bar
- Ladder rated for the job, secured on level ground
- Hook-knife blade for straight hip cuts
Materials:
- Asphalt shingles (three-tab or architectural)
- Underlayment (felt or synthetic)
- Metal drip edge
- Hip and ridge cap shingles
- Roofing nails sized to code
A hook-knife blade is worth buying on its own. Its curved edge tracks a chalk line far more cleanly than a standard utility blade when you're trimming hip cuts, and it cuts the time spent on that step almost in half.
For materials math, one bundle of standard three-tab shingles typically covers about 33 square feet, or three bundles per 100-square-foot "square." Here's a rough estimate before waste:
| Roof Size (sq. ft.) | Standard Bundles Needed* | Hip & Ridge Cap Bundles Needed |
|---|---|---|
| 1,500 | ~46 | ~4 |
| 2,000 | ~61 | ~5 |
| 2,500 | ~76 | ~6 |
*Based on 3 bundles per square plus a 10% waste allowance for cuts and hip lines.
If you'd rather have a crew price this out for you, our roof replacement team can run exact quantities off your actual roof plan.
Safety Precautions Before You Start
Check the weather forecast first. Wind and rain make hip roofs, with their multiple angled slopes, noticeably more dangerous to walk than a simple gable. Secure your ladder on level ground, wear gloves and eye protection, and keep the work area below clear of tools, debris, and foot traffic.
Basic fall protection matters even on a residential job. When it isn't feasible or creates a greater hazard to use guardrail, safety net, or personal fall protection systems on residential roofs, the standard requires a written fall protection plan and specific training instead. If you're unfamiliar with what that means in practice, the OSHA fall protection duty standard is worth a read before you climb up.
Step 1: Remove Old Shingles and Inspect the Roof Deck
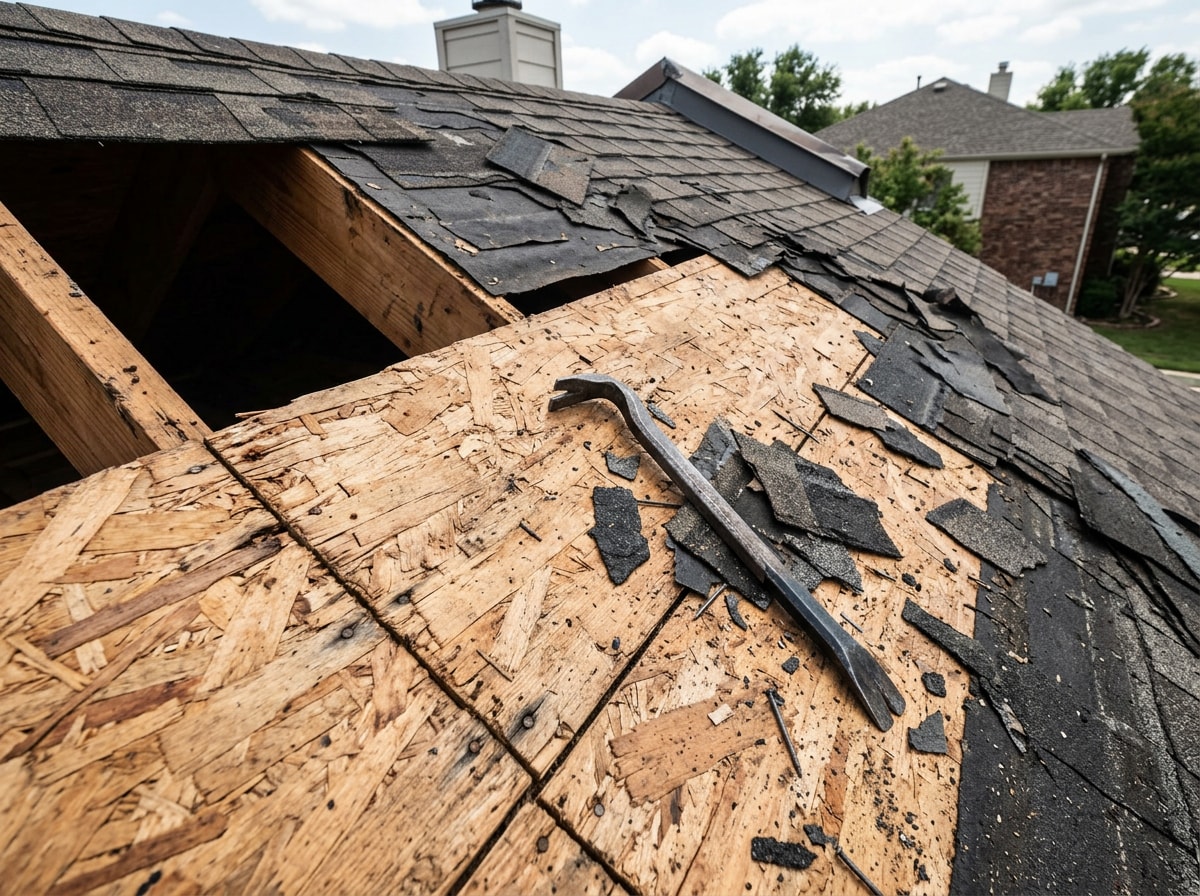
Start the tear-off at the ridge and work down, using a pry bar to lift old shingles and nails off the sheathing.
Once the deck is exposed, walk each section and look for rotting wood, delamination, or soft spots in the plywood or OSB. A thorough deck check now saves you from nailing new shingles over a deck that won't hold them.
Replace any damaged panels before moving forward. Skipping this step is one of the most common causes of premature roof failure. If you'd rather have a professional confirm the deck is sound first, a roof inspection before tear-off can flag rot you'd otherwise miss until the old shingles are already off.
Step 2: Prepare the Deck — Underlayment and Drip Edge
Deck prep matters more on a hip roof because there are more angled transitions where wind-driven rain can work its way underneath. Getting the underlayment and drip edge right here protects everything installed above it.
Install the Underlayment
Start at the bottom edge of the roof and work upward, overlapping each row of roofing felt or synthetic underlayment to shed water correctly. Secure it with nails or staples as you go.
This moisture barrier is your backup layer if shingles ever fail, so don't rush it. Underlayment products are held to specific performance standards: the ASTM specification for organic felt underlayment used in steep slope roofing covers asphalt-saturated organic felt intended for that exact application , so it's worth checking that whatever you buy is rated for steep-slope roofing under ASTM D4869 rather than a generic built-up roofing felt. For a full layer-by-layer breakdown of what belongs under your shingles, see our guide to what goes under shingles on a roof.
Install the Drip Edge
Install metal drip edge along the eaves and rake edges before the starter shingles go down. It directs water away from the fascia and stops moisture from creeping behind the shingles at the roof's edges, a common source of water intrusion when this step gets skipped.
Step 3: Lay the Starter Course and Field Shingles
On a hip roof, shingle courses continue unbroken around all four slopes instead of stopping at a gable end. That continuous wraparound is the core technical difference from shingling a standard gable roof.
Nail the Shingles Correctly
Use four to six nails per shingle, placed inside the manufacturer's nailing strip. Nails need a minimum nominal shank diameter of 12 gauge and a minimum head diameter of 3/8 inch , and they should be long enough to penetrate at least 3/4 inch into the roof deck. Nails driven too high miss the strip; nails driven too low or at an angle can pop through the shingle face. Either mistake weakens wind uplift resistance over time. The ARMA nailing guidance breaks down fastener specs by code if you want the full detail.
Stagger the Joints
Offset each row by roughly half a shingle width so the seams from one course never line up directly above the row below. This staggered pattern keeps water from finding a straight path through the roof system.
Step 4: Cut and Fit Shingles at the Hip Lines
Trim field shingles back from the hip centerline, about three-quarters of an inch is a commonly cited practical target, before capping. Leaving sheathing exposed invites leaks, while cutting back too far wastes coverage and looks uneven.
Two accepted approaches exist here:
- Flush trim: Cut both slopes flush at the hip line for a clean, tight finish, though it leaves less margin for error.
- Slight overlap: Leave a small overlap on one side before capping for a bit more water resistance at the seam, at a small cost to appearance.
Neither is universally correct. Pick the one that matches your comfort level and local practice, and use a hook knife with a chalk line for straight, controlled cuts.
Step 5: Install Hip and Ridge Cap Shingles
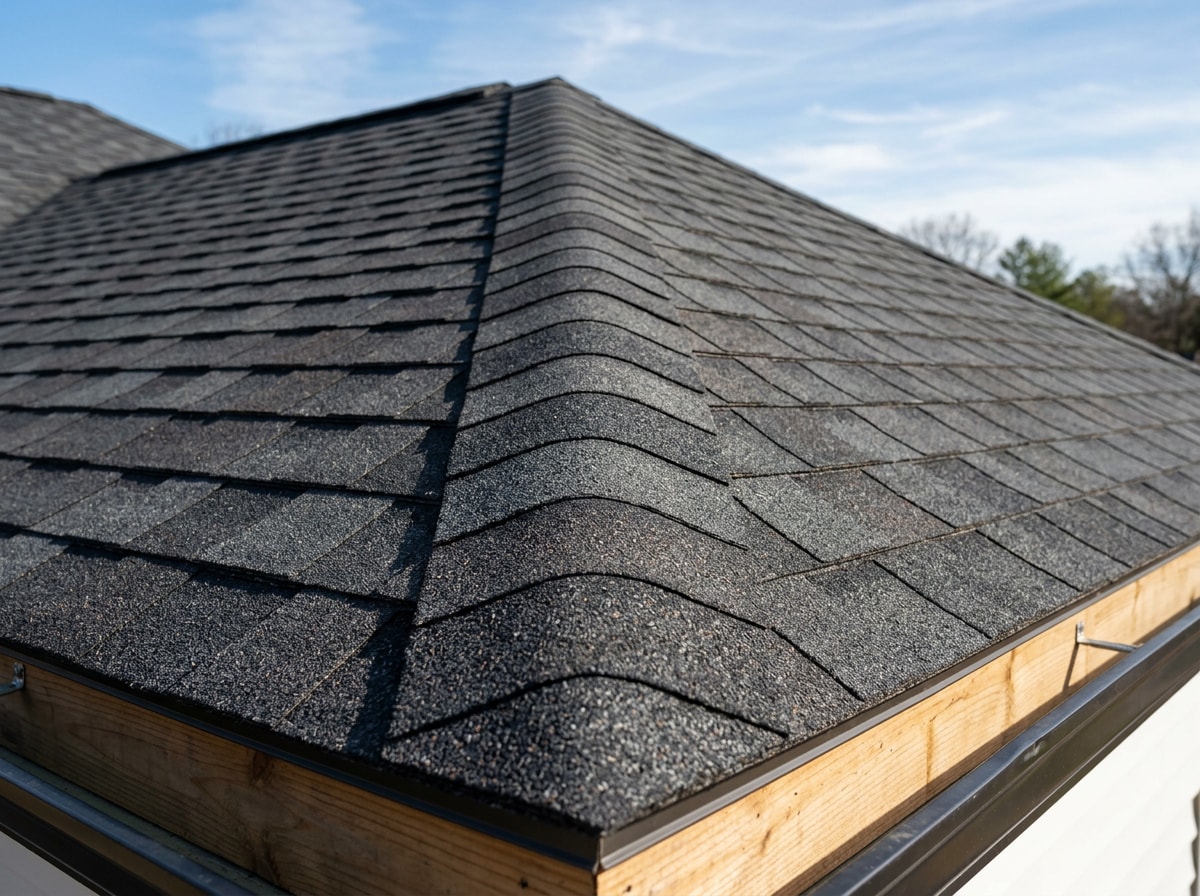
Start at the bottom of each hip and work upward, overlapping each cap shingle so the exposure matches your field shingle courses. Use purpose-made hip and ridge cap shingles rather than cut-up three-tabs; they're designed to bend cleanly over the angle without cracking.
Blind-nail one nail per side, positioned so the next cap conceals it. Hip and ridge shingles carry their own wind rating separate from field shingles: building codes require asphalt shingles, including hip and ridge shingles, to be tested and classified for wind resistance in accordance with ASTM D7158 or D3161 . In higher wind zones the fastening jumps accordingly, since manufacturer instructions for high-wind locations typically call for six nails per shingle instead of four . Check your local wind-speed map and the Building America Solution Center's asphalt shingle roof guidance before you finish the caps.
If you'd rather have this stage handled by a licensed crew, our roof replacement services team can take it from here, and a quick call gets you a free estimate before you commit to doing it yourself.
Step 6: Terminate and Seal the Ridge
Where hips meet the main ridge, custom-trim the final cap pieces so they fit the junction cleanly rather than overlapping awkwardly. Set the last cap in place, then seal any exposed nail heads and the final seam with roofing cement to block water at this high-traffic termination point.
Final Inspection and Cleanup
Walk the finished roof and check for loose shingles, exposed nails, or spots that aren't lying flat. Correct anything you find before calling the job done.
Clear leftover debris, old shingle scraps, and stray nails from both the roof and the yard below. A missed nail in the grass is a flat tire or a bare foot injury waiting to happen.
Crews who work hip roofs regularly will tell you the same thing: the extra hip cuts and cap work routinely add a day or more compared to a same-size gable roof. Budget the extra time before you start, not halfway through.
If your roof deck turned up more damage than expected, or the hips are steeper than you're comfortable trimming freehand, our team serves homeowners throughout Frisco, TX and the surrounding North Texas area. Visit Project Revitalize to see our full range of roofing work, or go straight to scheduling a free estimate.
FAQ
How many nails do you need per shingle on a hip roof?
Most shingles require four to six nails each, placed within the nailing strip. Higher wind zones and certain local codes may require additional fasteners per shingle for extra holding power.
Do you overlap or cut shingles at a hip roof ridge?
Field shingles are typically trimmed back from the hip and ridge centerline rather than woven together. Dedicated hip and ridge cap shingles then cover the cut edges for a weathertight finish.
What is the best way to cut shingles for a hip roof?
A hook-knife blade paired with a chalk line gives the straightest, cleanest cuts along hip lines. The hook shape follows the line more reliably than a standard utility knife blade.
How long does it take to shingle a hip roof?
A straightforward hip roof of average size typically takes a two- to three-person crew two to three days, from tear-off through cleanup. A solo DIYer should plan for closer to a week, since the extra hip cuts and cap work slow the pace considerably.
Can you shingle a hip roof yourself, or should you hire a pro?
A careful DIYer can often handle a simple, low-pitch hip roof. Steep pitches, chimneys, or complex multi-hip layouts are safer left to a professional. If you'd rather not climb up there yourself, get a free estimate and let a licensed crew handle it.