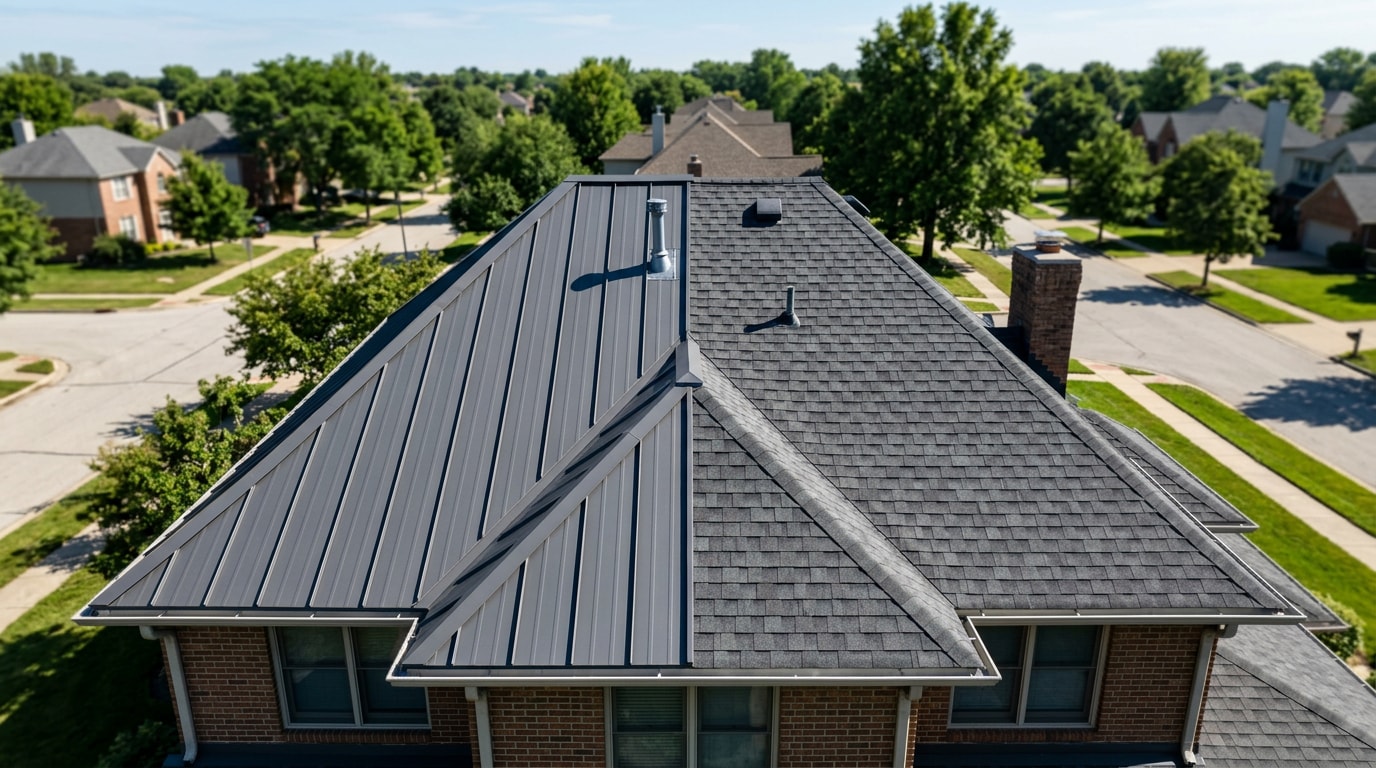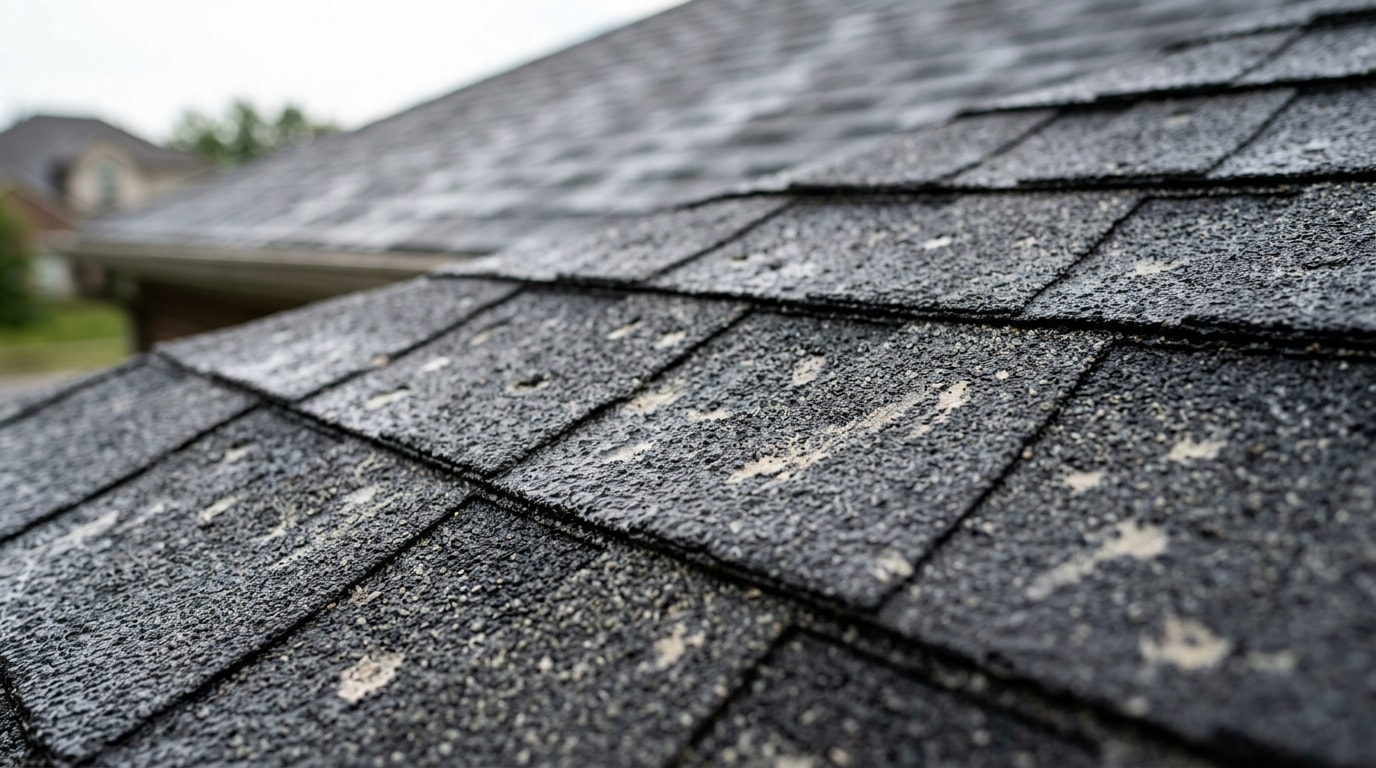
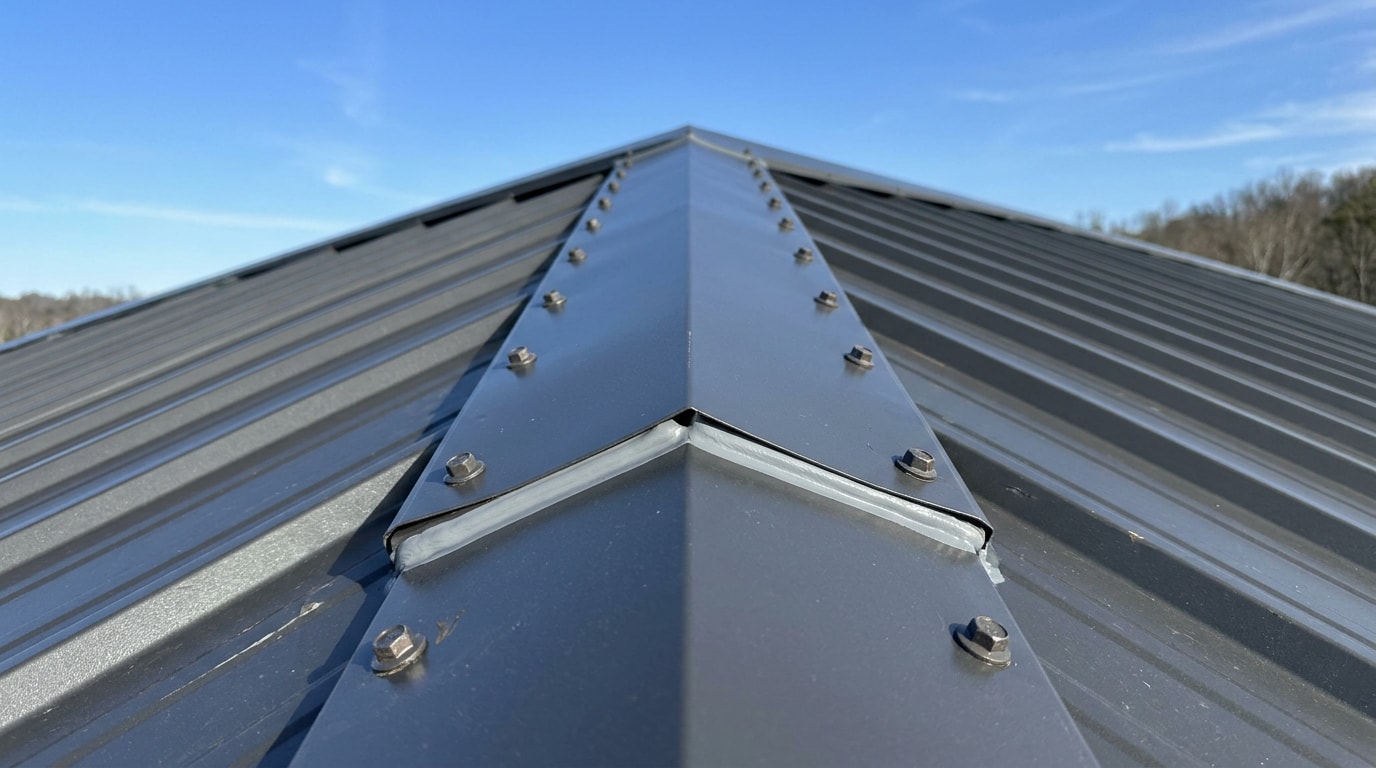
Learning how to install ridge cap on a metal roof comes down to three things: the right closure strips, the right fastening pattern, and a sealed lap at every joint. Skip any one of those and the ridge, the highest and most exposed seam on the roof, becomes the first place water gets in. Here's the full sequence, from measuring the peak to the final bead of sealant.
What Is a Metal Roof Ridge Cap?
A ridge cap is the trim piece that covers the peak where two roof slopes meet. It goes on last, after every panel and every other piece of trim is already fastened down.
Underneath, the panels stop short of the peak, leaving a gap the width of the ridge. The cap bridges that gap so water runs down and off the roof instead of finding a way in.
Because it sits at the top of every slope on the house, a poorly seated ridge cap is one of the most common sources of roof leaks. It's also one of the easiest details to get right, as long as you follow the sequence in order and don't skip the closures.
Closure Strips: Solid vs. Vented
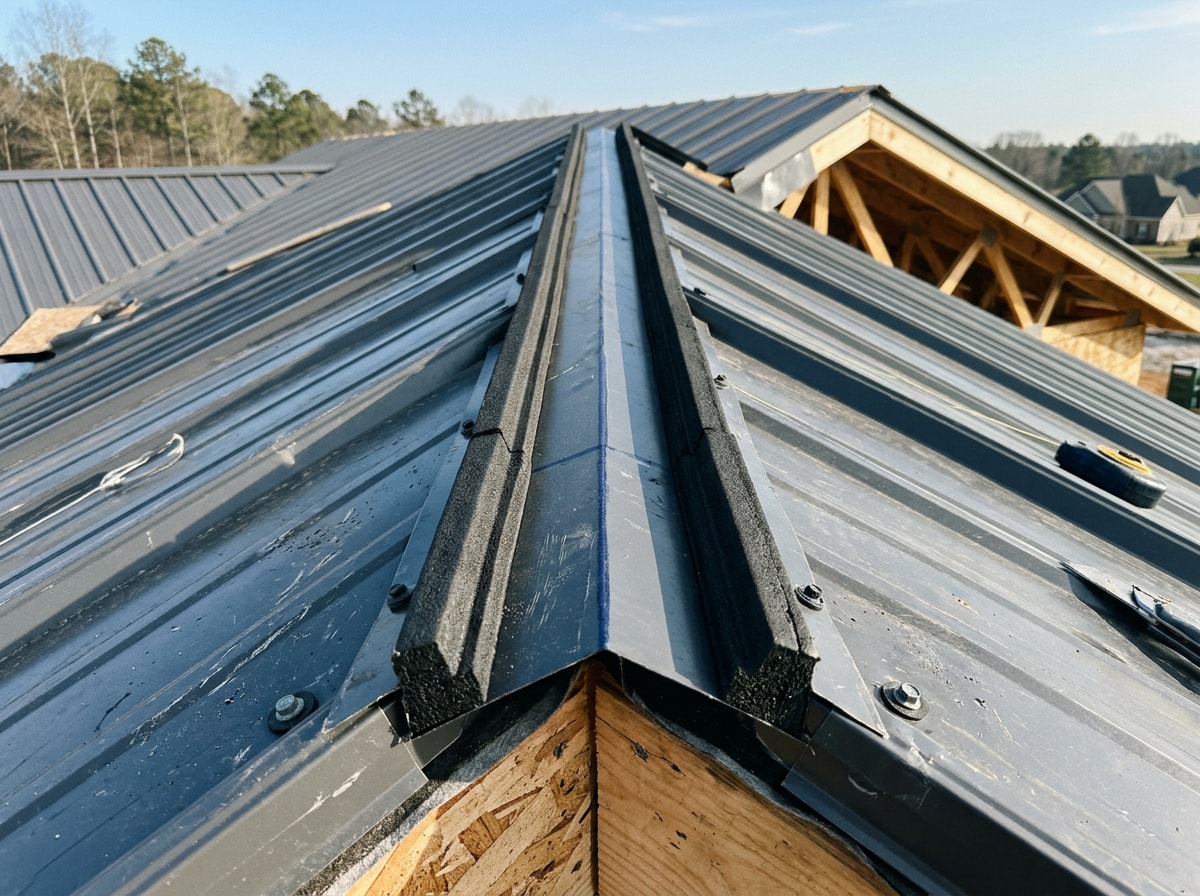
Closure strips, not the cap itself, are what actually seal the gap between the panel ribs and the ridge cap. Skip them, and the ribs of your panels stay open, straight under the cap, inviting wind-driven rain, insects, and blowing debris.
Solid Closures
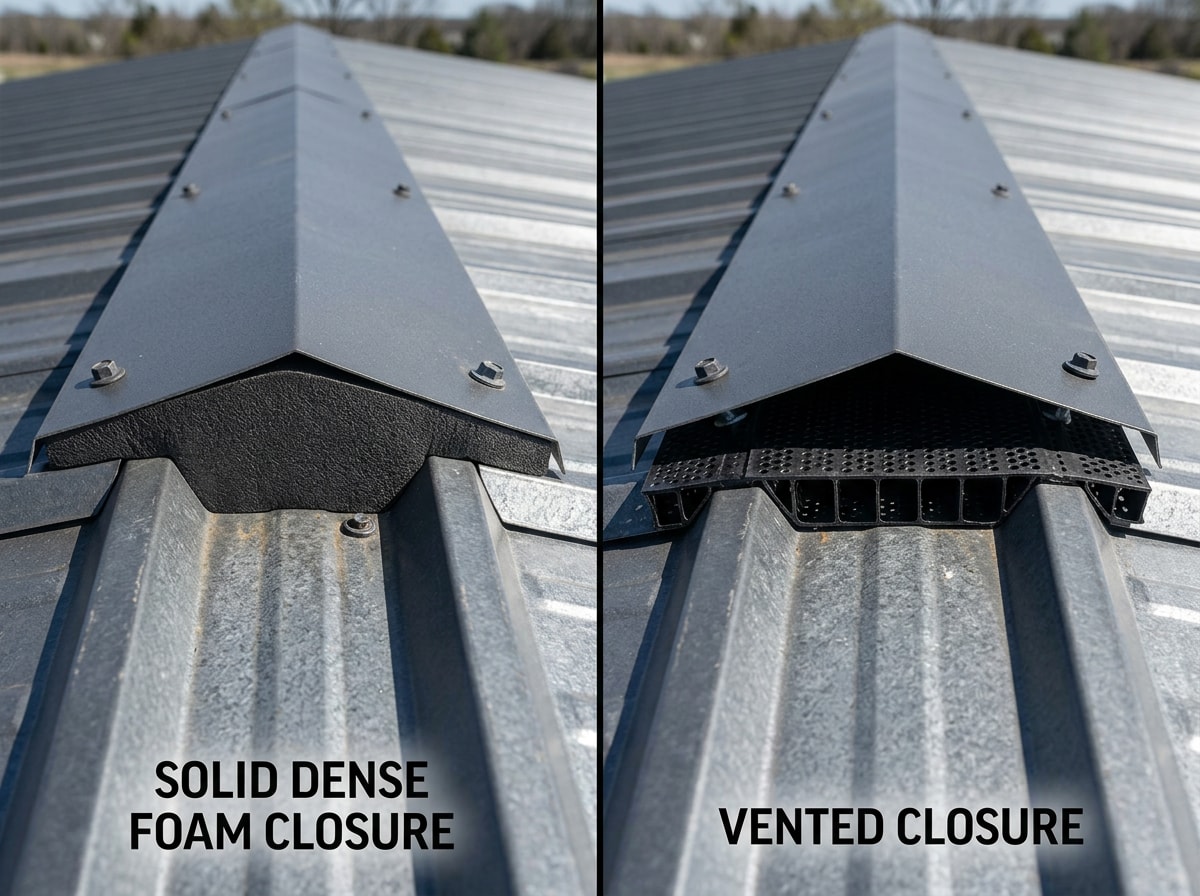
Solid closures, also called outside closures, are dense foam strips, usually about three feet long, shaped to fit tightly over the ribs of your panels.
They install end to end along the top row of panels, right where the panels and ridge cap meet. Each piece interlocks with the next, forming one continuous, watertight barrier. This is the standard choice when the attic doesn't need exhaust ventilation at the ridge.
Vented Closures
A vented closure, often sold under names like ProfileVent, matches the ribbed profile of your panels but lets air pass through instead of sealing it off completely. It exhausts hot, moist attic air while still blocking bugs and wind-driven rain.
Vented closures typically install a half inch to an inch up-slope from the ridge cap's edge, leaving a narrow opening at the ridge for airflow.
Here's the part most installation guides skip: a vented ridge only works if it's paired with enough intake ventilation at the soffits. Exhausting air at the ridge without a matching intake path starves the airflow and can trap moisture instead of releasing it. The International Residential Code sets minimum attic ventilation ratios and requires that ventilation stay balanced between intake and exhaust rather than concentrated at the ridge alone, a detail worth checking against current attic ventilation code guidance before you close up the ridge.
Tools and Materials You'll Need
Gather everything before you climb up so you're not making trips up and down the ladder mid-job.
- Ridge cap sized to your roof's ridge length and panel profile
- Gasketed metal-to-metal roofing screws
- Solid or vented closure strips matched to your panel profile
- Butyl sealant tape or high-quality roofing caulk
- A drill with the correct driver bit
- Tin snips or a metal-cutting shear
- A chalk line and tape measure
If you'd rather have a licensed crew handle it, Project Revitalize is a full-service roofing contractor working across North Texas, and a free estimate takes just a few minutes to schedule.
Choosing the Right Gauge and Material
Ridge cap should match the gauge and finish of your roof panels. Mixing thicknesses or metals is where a lot of DIY installs go wrong.
Lighter gauges cost less but flex more under wind uplift and foot traffic. Heavier gauges hold their shape better in hail and high-wind regions, which matters across North Texas where both show up in the same storm season.
A few rules of thumb:
- Match metal type to metal type. Steel cap on steel panels, aluminum on aluminum. Mixing dissimilar metals, like bare copper against steel, sets up galvanic corrosion over time.
- Match the finish. A cap in a different coating or color ages differently than the panels and stands out within a few years.
- Confirm gauge with your supplier or installer based on your specific wind and hail exposure before ordering material.
Step-by-Step: How to Install Ridge Cap on a Metal Roof
Exact hardware and spacing shift a little depending on panel profile, but this sequence holds across most exposed-fastener metal roofing systems.
- Measure the ridge. Run a tape measure across the full length of the peak. Accurate numbers here keep you from wasting material or coming up short mid-run.
- Cut with overlap allowance. Using tin snips or a metal shear, cut ridge cap sections slightly longer than needed so each joint has at least a 6-inch overlap.
- Mark and snap chalk lines. Center one piece of ridge cap on the peak, mark its lower edges on both sides, then snap a chalk line connecting those marks along the full ridge, one line per slope.
- Install closure strips. Lay solid or vented closures along the chalk line on both sides, with the closure edge about ¼ inch above the line, toward the peak.
- Set and fasten the first section. Place the ridge cap over the closures and fasten with metal-to-metal screws every 12 inches, driving through the high rib of the panel.
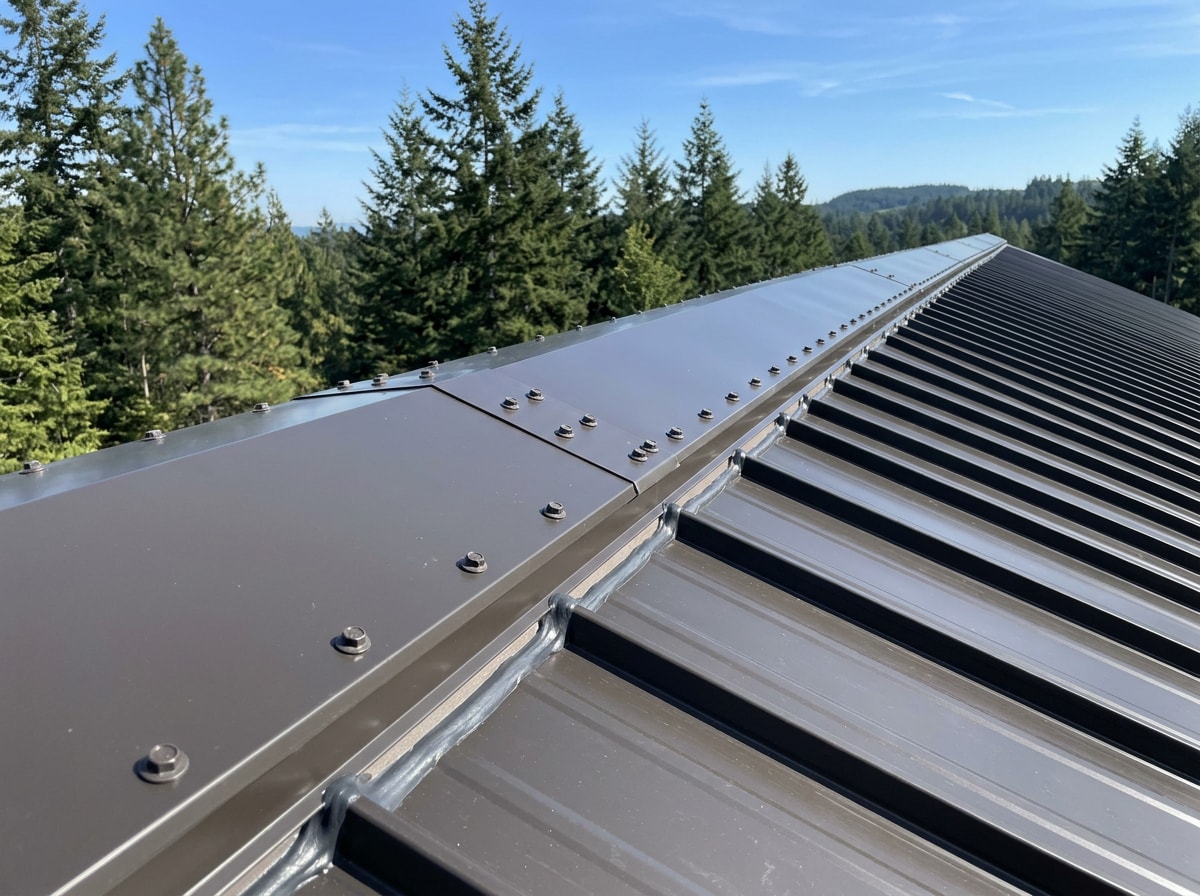
- Overlap subsequent sections. Lap each new section 6 inches over the last, with the overlap facing away from the street-facing side of the roof.
- Seal every seam. Run a generous bead of sealant along every edge and overlap where sections meet.
Working the ridge puts you at the highest, most exposed point of the roof. Fall protection isn't optional at that height. Review OSHA's fall protection guidance for residential construction before starting, and don't work the ridge alone, in wet conditions, or in wind.
Dos and Don'ts for Installing a Metal Roof Ridge Cap
Do:
- Use durable, weather-resistant material, galvanized steel or aluminum, matched to your panels
- Align sections carefully and overlap them a full 6 inches
- Seal every joint with quality sealant, not just the visible seams
- Install a vented closure if your attic ventilation plan calls for ridge exhaust
Don't:
- Over-tighten screws. It's one of the most common ridge cap mistakes, and it dents the panel and cap, opening gaps instead of closing them
- Skip the closure strips to save time. They're the actual seal, not the cap
- Guess at fastener spacing or torque. Check the manufacturer's installation manual for your specific panel and cap system
- Work the ridge in wet, icy, or high-wind conditions
If your existing ridge cap is already leaking, patching over the problem rarely holds long-term. Our roof repair team traces leaks back to the actual failure point, whether that's a bad closure, a missed seal, or a fastener that backed out. And if the roof underneath the ridge is past its service life, a roof inspection will tell you whether a targeted fix or a full roof replacement makes more sense financially.
How Much Does Ridge Cap Installation Cost?
Ridge cap material typically runs $2 to $5 per linear foot depending on gauge, metal type, and finish, before labor. Standard sections ship 10 to 12 feet long, so a 40-foot ridge usually needs four to five pieces plus overlap.
| Ridge Cap Type | Typical Material Cost (per linear ft) | Best For |
|---|---|---|
| 29-gauge steel, painted | $2.00 - $3.00 | Low-snow, low-wind areas; budget installs |
| 26-gauge steel, painted | $3.00 - $4.50 | Most residential roofs; standard choice |
| 24-gauge steel or aluminum | $4.00 - $5.50+ | High-wind, hail-prone, or coastal areas |
Labor adds to that total, and it climbs if the existing ridge has to be torn off and rebuilt rather than capped fresh. If you're still weighing metal roofing against shingles on total project cost, our metal roof vs. shingles cost guide breaks down the full price difference for 2026.
Ridge cap looks simple until you're the one on the roof lining up closures in a North Texas crosswind. If you'd rather have it done right the first time, get a free estimate from a crew that installs and repairs metal roofing across Frisco, Plano, McKinney, and Dallas.
FAQ
How much overlap does metal ridge cap need?
Overlap ridge cap sections by a minimum of 6 inches where two pieces meet along the ridge.
Do you need closure strips under a ridge cap?
Yes. The closure strips are the actual seal; the cap is just the cover. Without them, panel ribs stay open under the cap, letting in rain, snow, and insects.
Do I need a vented or non-vented ridge cap?
If your attic relies on ridge exhaust ventilation, a vented cap releases warm, moist air and reduces condensation, as long as it's paired with matching soffit intake. For unvented assemblies or roofs without balanced intake, a solid, non-vented cap is the safer choice.
How far apart should ridge cap screws be spaced?
Space metal-to-metal fasteners 12 inches on center along the ridge cap, driving through the high rib of the panel rather than the flat.
What gauge should a metal roof ridge cap be?
Match the cap gauge to your roof panels. 26-gauge steel is the standard choice for most residential roofs; step up to 24-gauge or aluminum in high-wind or hail-prone regions.
How much does it cost to install ridge cap on a metal roof?
Material alone runs roughly $2 to $5 per linear foot depending on gauge and finish. Total installed cost depends on ridge length, roof pitch, and whether the old ridge needs to be removed first.
How do you finish a ridge cap where it meets a wall or gable end?
At a sidewall, step flashing or a formed transition piece should go in before the ridge cap, with the cap lapping over it rather than butting against it. At a gable end, the cap is typically cut and bent down over the end of the panel, or finished with a matching end cap, to keep water from getting in at the edge.