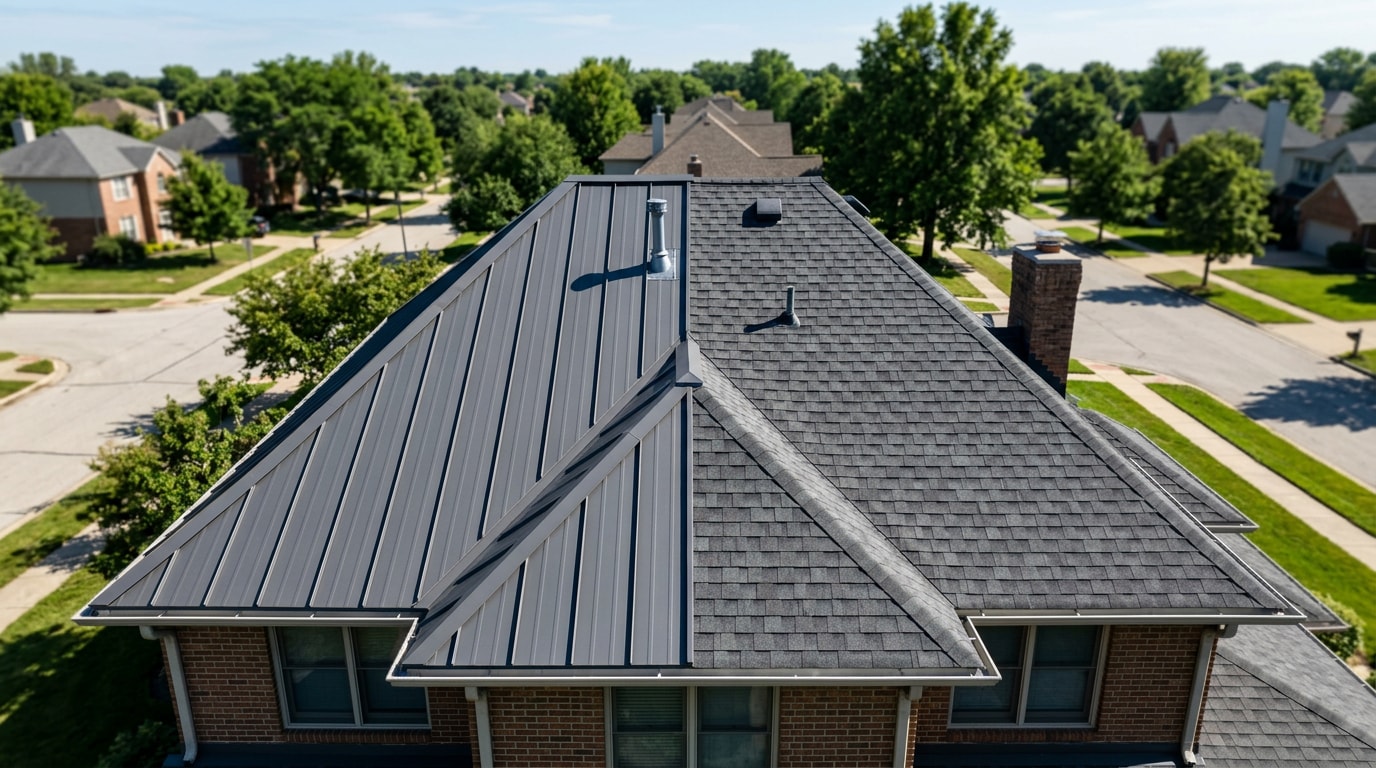
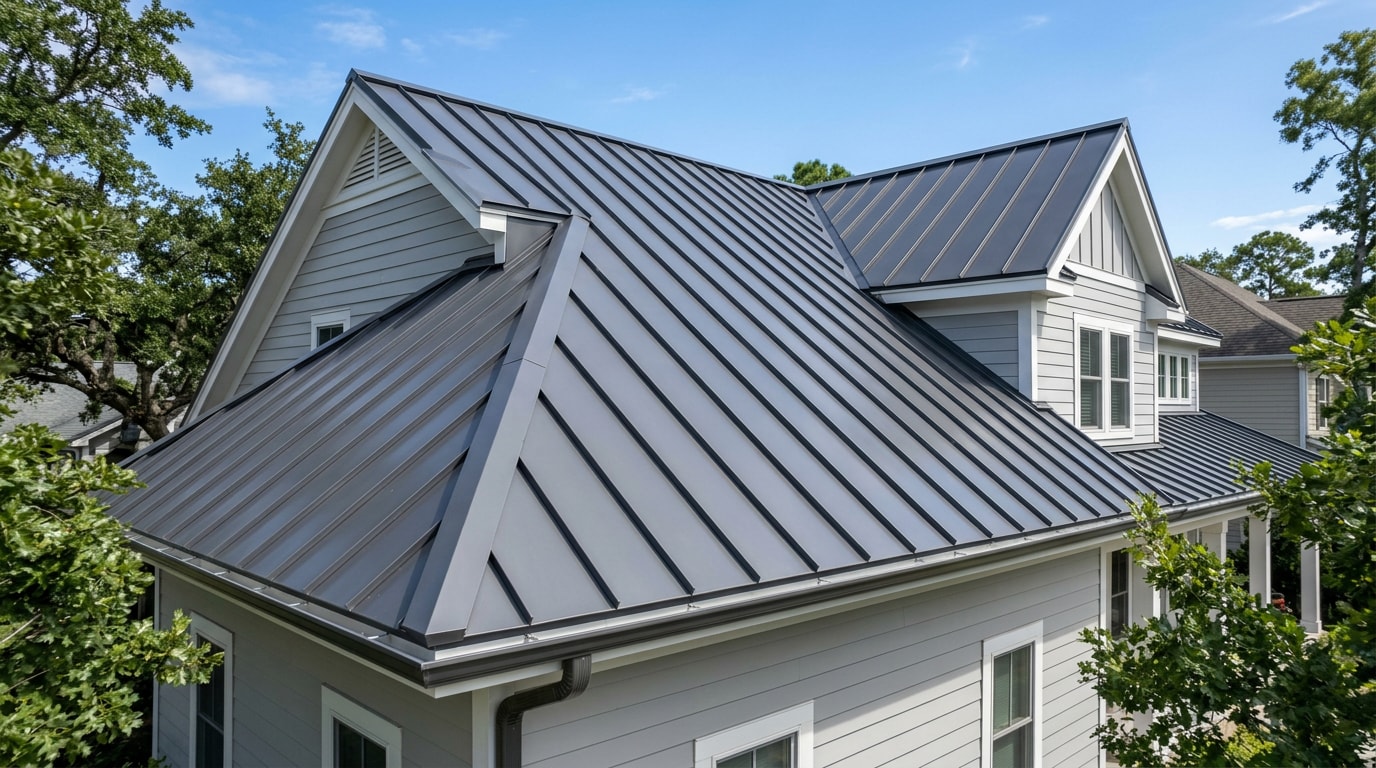
You install a metal roof by measuring and stripping the old roofing, laying underlayment and trim, then fastening panels edge to edge before capping the ridge and flashing every penetration. Each stage sets up the next, so a sloppy first panel or a skipped underlayment step shows up as a leak months later. This guide walks through the process in the order a crew actually works it, including the safety thresholds, fastener specs, and code caveats that get glossed over elsewhere.
Our licensed crews handle metal roof installs and repairs across the Dallas-Fort Worth area, and the flashing details below come from what actually fails on service calls, not just manufacturer literature.
Tools, Materials, Safety Gear & Budget You'll Need
Prep work decides whether the rest of the project goes smoothly, before anyone climbs a ladder.
Essential Tools You'll Need
A basic metal roofing job requires six tools that cover measuring, cutting, and fastening for most residential installs.
- Tape measure and chalk line for layout
- Metal snips for trimming panels and flashing
- Cordless drill or impact driver
- Screw gun with adjustable depth setting to avoid overdriving fasteners
- Hand seamer for bending trim and closing seams
- Circular saw with a metal-cutting blade for long, straight cuts
Safety Gear and Precautions
Metal roofing is slippery, reflective, and often installed on steep pitches. Fall protection isn't optional here.
OSHA requires that fall protection be provided at elevations of four feet in general industry workplaces, five feet in shipyards, six feet in the construction industry and eight feet in longshoring operations. That six-foot threshold covers nearly every residential roof job, and it applies in Texas the same way it does everywhere else, since Texas follows the federal OSHA standard rather than a state plan. You can review the full residential fall protection standard before you plan the work.
Wear a harness anchored to a rated point, secure your ladder at both ends, and use rubber-soled shoes built for roof work. Work with a helper. Someone on the ground can hand up panels and call out hazards you can't see from the roof edge.
Setting a Realistic Budget
Budget for more than just panels. Line items typically include panels, trim and flashing, underlayment, fasteners, and any tool rentals like a seamer or metal-cutting saw. If you'd rather have a professional handle the estimate, request a free quote before you commit to buying materials.
How to Measure Your Roof for Metal Panels
Measure the length and width of each roof section separately, then multiply to get square footage per section before adding them together. Roofs with dormers, valleys, or multiple pitches need to be broken into smaller rectangles and triangles for accuracy.
Once you have total square footage, order 10-15% extra material to cover waste from cuts, mistakes, and complex angles. Running short mid-project usually means a delayed delivery and a mismatched panel batch, so it pays to over-order slightly.
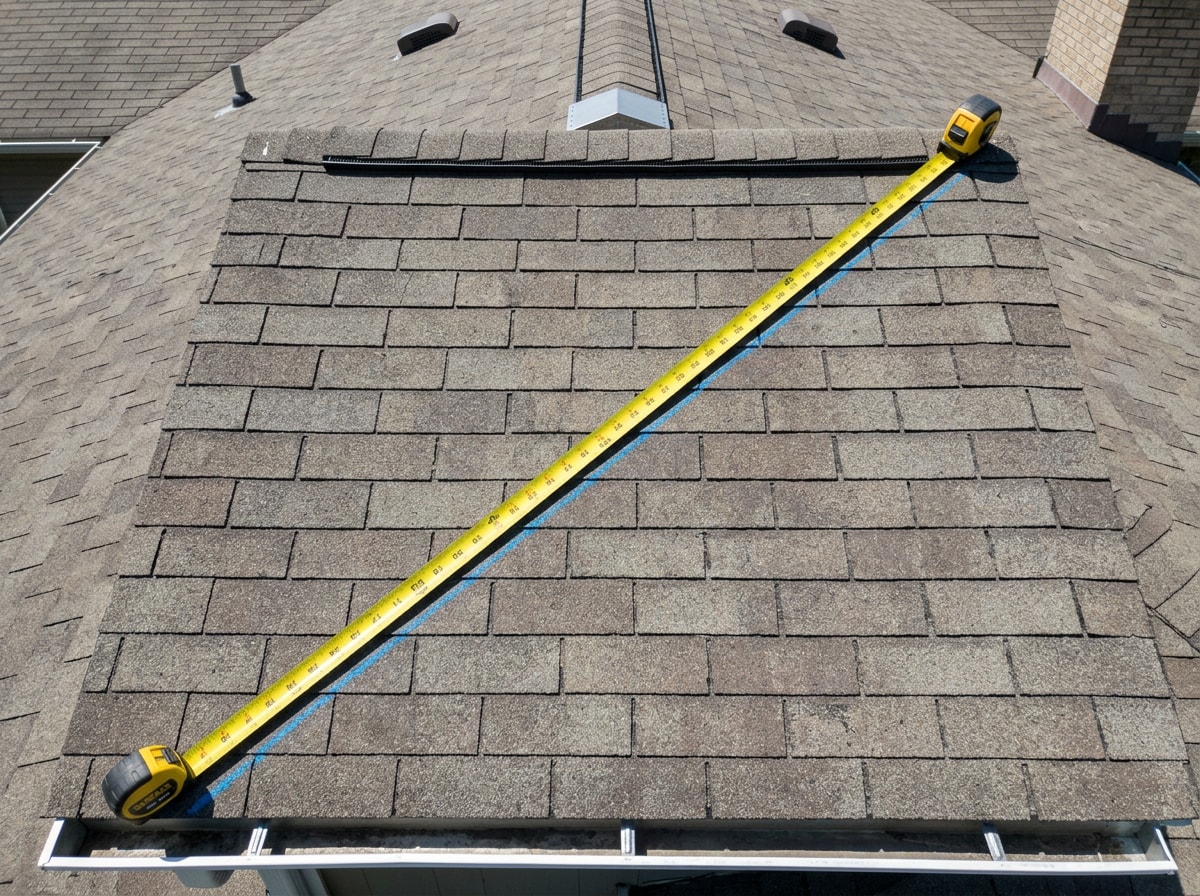
If your roof deck looks questionable before you even start measuring, a professional roof inspection will catch rot, sagging, or ventilation problems before you order material.
Remove Old Roofing and Repair Any Damage
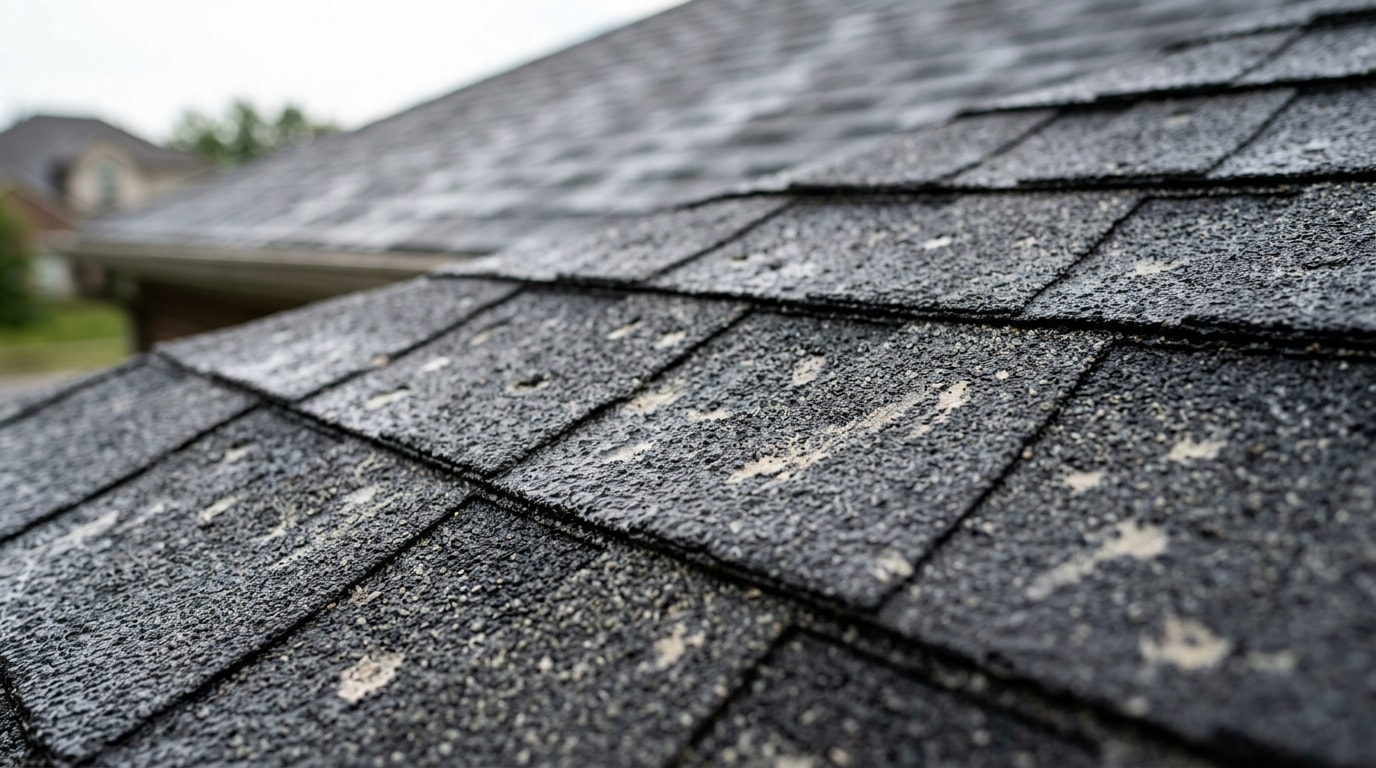
Tear-off starts with stripping shingles, felt, and old fasteners down to bare decking. Walk the deck while it's exposed and replace any rotten or soft plywood. Installing new panels over a weak deck defeats the purpose of a durable metal roof.
Some jurisdictions allow installing metal roofing directly over existing shingles using furring strips, but this isn't universal. Roof recover work is prohibited once the existing roof already has two or more layers of any type of roofing material , among other conditions, under the model residential building code. Check the current IRC roof-recover requirements or your local building department before assuming a roof-over is legal on your house. If you're planning a full tear-off, our roof replacement team can walk you through what a professional teardown typically includes.
Install the Underlayment
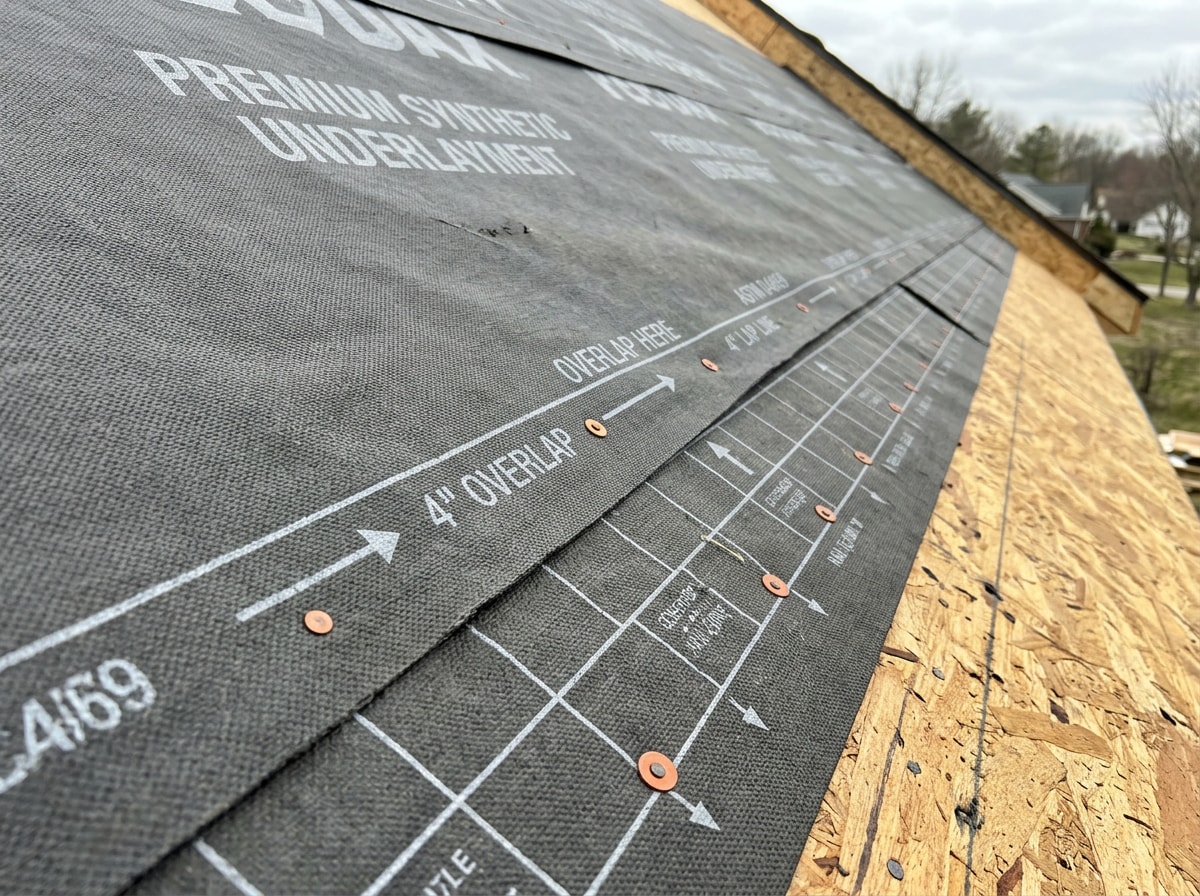
Unroll underlayment horizontally starting at the eave, overlapping each row by 4 to 8 inches as you move toward the ridge. Keep it as wrinkle-free as possible. Bumps under the panels telegraph through the metal and can trap moisture.
Metal roofs run hotter than asphalt shingles because of solar heat gain, so a high-temperature-rated synthetic underlayment is worth the extra cost over standard felt. In areas prone to ice damming, add an ice-and-water shield along the eaves and valleys before the rest of the underlayment goes down.
Install Drip Edge and Trim
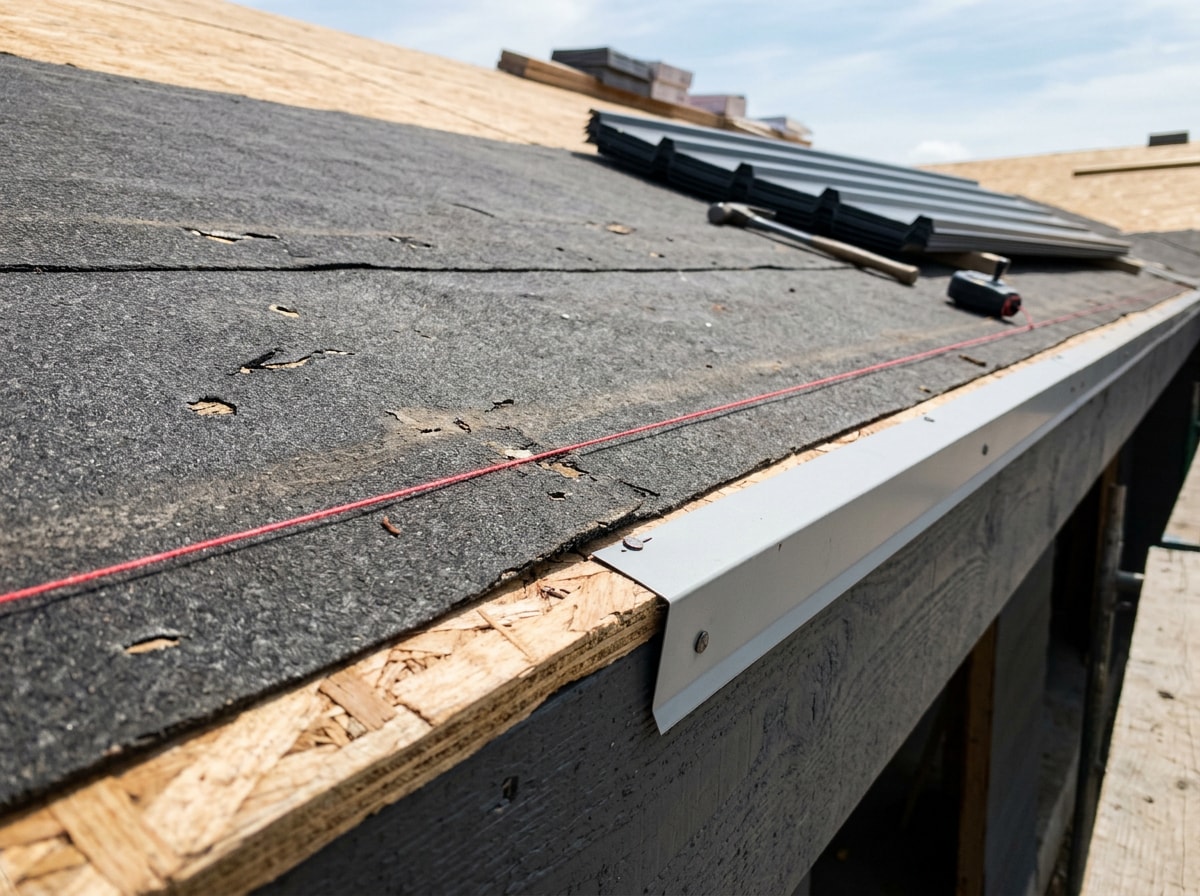
Drip edge and trim pieces go on before the panels themselves, and they follow a specific order: eave trim first, then gable and corner trim.
Install the Eave Trim
Fasten eave trim tight against the fascia board, using sealant tape along the top edge to block wind-driven rain. In colder climates, installers sometimes place eave trim before the underlayment rather than after, so check what your underlayment manufacturer recommends. If your gutters are original to the house, this is also the right time to check whether they still pitch correctly toward the downspouts. A worn gutter system paired with a brand-new roof is a common callback we see, and gutter installation is easiest to schedule alongside a re-roof rather than after.
Install Gable and Corner Trim
Gable and rake trim need clean corners. Cut and bend the ends into tabs with aviation snips, then wrap each tab around the corner to keep water from finding a path behind the trim.
Plan Your Panel Layout and Square the First Panel
Get the first panel wrong and every panel after it drifts a little further out of line. On real jobs, we've seen a quarter-inch layout error at the eave turn into several inches of drift by the far side of a 40-foot roof.
Square the First Panel to the Roof
Snap a chalk line that runs perfectly square to the eave, not just parallel to it, since even a slightly off eave will throw off your whole layout. Start installation on the side opposite the prevailing wind direction. This helps later panels overlap in a way that sheds wind-driven rain instead of catching it.
Check your first panel against the chalk line twice before driving a single fastener. Once it's screwed down, there's no easy way to shift it.
Cut Panels to Size
Trim panels using metal snips for small cuts or a circular saw fitted with a metal-cutting blade for longer runs. Cut on the ground or on sawhorses rather than balancing a panel on the roof edge. It's safer and gives you a cleaner, straighter cut.
Fasten the Metal Panels Correctly
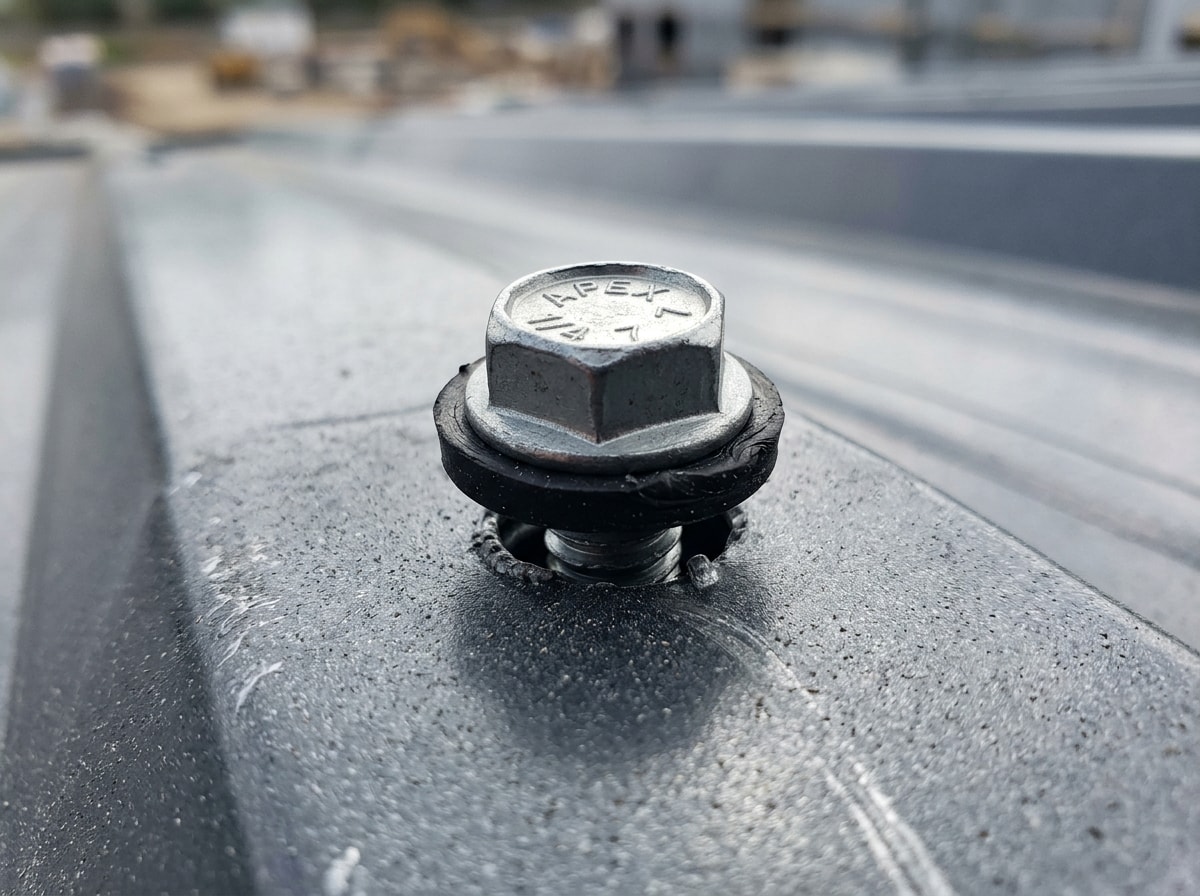
Drive screws into the flat part of the panel next to the rib, never directly on top of it, since fastening through the rib crushes the panel profile. Screws should sit snug with the rubber washer slightly compressed. Overdriving cracks the washer seal and invites leaks. Each panel typically overlaps the last rib of the previous one to keep water out.
Exposed-fastener panels and standing seam systems handle this step very differently:
| Feature | Exposed-Fastener Panels | Standing Seam Panels |
|---|---|---|
| Fastening method | Screwed through the face at set intervals | Hidden clips, no face penetrations |
| DIY difficulty | More forgiving for first-timers | Steeper learning curve, specialized tools |
| Long-term maintenance | Fasteners need periodic inspection | Fewer exposed points to fail |
| Thermal movement | Limited flexibility | Panels expand and contract freely |
| Typical minimum pitch | 3:12 | As low as 1/4:12 to 3:12, depending on seam type |
Metal roof slope is expressed as the vertical rise in inches for every 12 inches the roof runs horizontally, and a low-slope roof is generally defined as anything under a 3:12 ratio. Standing seam systems tolerate lower pitches than exposed-fastener panels because the sealed, raised seam does more of the work keeping water out. See the manufacturer slope guidance for your specific panel profile before finalizing your layout on a low-slope roof.
Fastener spacing and torque specs vary by manufacturer, so always check the panel spec sheet that ships with your material before you start driving screws.
Install Ridge Caps and Flashing
Ridge caps close off the peak of the roof, but they need foam closure strips underneath to block wind, dust, and pests from entering the gap between the panel ribs and the cap. Center each ridge cap section and overlap the next by at least 6 inches to keep water from working its way in during heavy rain. If you want the full fastener pattern and closure-strip layout, our ridge cap installation guide covers that step in more detail.
Flashing around chimneys, vents, and skylights deserves equal attention. On the service calls we run across Frisco, McKinney, and the rest of DFW, penetration flashing causes far more leaks than the field panels ever do. The primary function of roof flashing is to shed or direct water away from roof edges and penetrations to prevent infiltration into the building , and getting that detail wrong is where most metal roof leaks start. Reference the IBHS technical guidance on metal flashing if you're unsure how much coverage a specific detail needs. If a previous roof already has flashing problems, a roof repair visit before the re-roof can catch deck damage before it's covered up.
Installing Metal Roofing Over Shingles
A roof-over can work in some situations, typically using furring strips to create an air gap between the old shingles and the new panels. That said, most roofing professionals still recommend a full tear-off, since it lets you inspect and repair the deck underneath rather than hiding potential problems.
Whether a roof-over is even allowed comes down to local code, not just what's physically possible, and the layer-count rule referenced earlier applies here too. Confirm the rule with your local building department before committing to this approach instead of tear-off.
DIY vs. Hiring a Professional Installer
Simple gable roofs using exposed-fastener panels are the most realistic DIY candidates. The layout is straightforward and the tools are accessible to most homeowners. Standing seam systems, steep pitches, and roofs with multiple valleys or dormers are a different story. The margin for error is smaller and specialized tools add cost quickly.
If your project falls into that harder category, get quotes before renting equipment. Our team at Project Revitalize installs both exposed-fastener and standing seam systems throughout Frisco, Dallas, McKinney, Plano, Fort Worth, Denton, and Allen, and we're happy to walk your roof with you before you decide whether to DIY it.
FAQ
How long does it take to install a metal roof?
Most residential metal roof installations take three to seven days for a typical single-family home, depending on roof size, pitch, and complexity. Steeper roofs, multiple valleys, or standing seam systems generally add time compared to a simple gable roof with exposed fasteners.
Do I need to remove shingles before installing metal roofing?
Not always. Some codes allow installing over existing shingles using furring strips to create a ventilation gap. Local building codes limit how many roofing layers a structure can carry, so check with your building department before skipping tear-off.
What screws do you use for metal roofing?
Metal roofing uses self-tapping screws with neoprene or EPDM rubber washers to seal each penetration. Most residential jobs use a #10 or #12 gauge screw in a length matched to your panel and decking thickness, with the screw color chosen to match the panel finish.
What roof pitch is required for metal roofing?
Most exposed-fastener metal panel systems require a minimum pitch of around 3:12, though standing seam systems can go lower depending on the seam type and sealant used. Lower-pitched roofs often need additional sealant, tape, or a specialized underlayment system to stay watertight, so always check the manufacturer's specs for your exact pitch.
What's the best underlayment for a metal roof?
A high-temperature-rated synthetic underlayment is the standard choice, since metal panels run hotter in direct sun than asphalt shingles do. In areas that see ice damming, add a self-adhered ice-and-water membrane along eaves, valleys, and penetrations before the synthetic underlayment goes down.
Can you install a metal roof yourself?
Yes, for straightforward gable roofs using exposed-fastener panels, DIY installation is realistic with the right tools and a helper. Standing seam systems and complex rooflines are harder to seal correctly without specialized equipment, so those projects usually go smoother with a professional installer. If you'd rather skip the ladder entirely, get a free estimate and we'll scope the job for you.